Guide
How to build a brick roof
Slope angles, gable and hip roofs, tiered and flat roofs, deep eaves and upturned Asian corners, with examples you can open in the 3D viewer.
The roof decides how a building looks more than any other part. The same four walls read as a garden shed under a plain gable, a tea house under a low hipped roof with deep eaves, or a temple under a stack of shrinking tiers. Roofs are also where most mistakes happen, because slopes only fit one way round.
Below are the roof types that come up again and again, how each is put together with standard LEGO® slope bricks, and the reason behind each method, so you can adapt it to a building of your own. Every example is a real build you can open and turn around in the 3D viewer. If you are new to slopes, read the section on slopes in beginner building techniques first.
Choosing a slope angle
Slope bricks are named by their angle. The angle sets how steep the roof looks and how much of it you see from the front.
| Slope | Rise | How it looks | Used on |
|---|---|---|---|
| 18 degrees | 1 brick over 3 studs | Very low, almost flat | Long, low shapes |
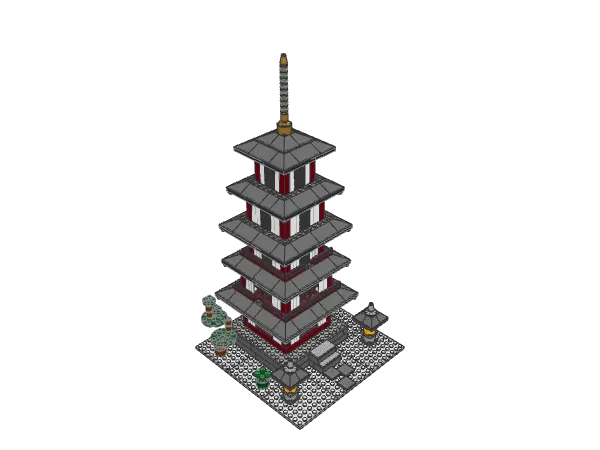
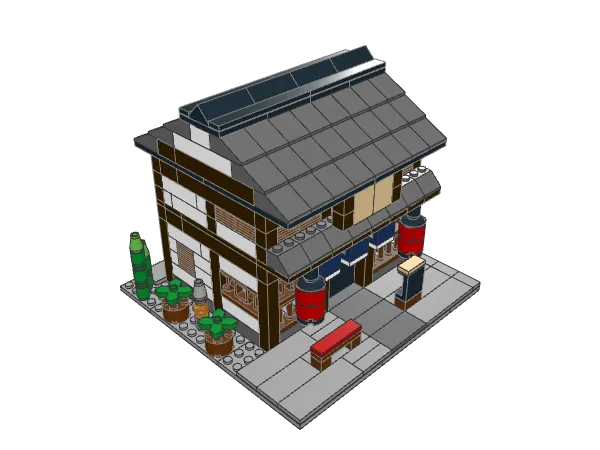
| 33 degrees | 1 brick over 2 studs | Low and wide, East Asian roofs | Tea House, Udon Shop, Five-Story Pagoda |
| 45 degrees | 1 brick over 1 stud | The everyday house roof | Garden Shed, Log Cabin, Beach Hut |
| 65 degrees | 2 bricks over 1 stud | Steep, alpine | Spires and steep gables |
| 75 degrees | 3 bricks over 1 stud | Nearly vertical | Points and tower tops, such as the cap of the Washington Monument |
A few rules of thumb:
- 45 degrees is the safe default. It has the widest range of shapes: plain slopes in several lengths, double slopes for the ridge and corner pieces for hips and valleys.
- 33 degrees looks lower and heavier. Each course reaches two studs further in, so the roof needs more width to climb the same height. That is exactly the low, spreading look of a Japanese or Korean roof.
- Steep slopes are for small areas. A whole roof at 65 or 75 degrees gets very tall very quickly. They work best for towers, spires and the tips of monuments.
- Mixing angles changes the profile. A roof that is shallow at the eave and steeper near the ridge looks curved from a distance, even though every piece is straight. Put the lower angle at the bottom and the higher one on top; the reverse makes the roof look swollen. Sungnyemun Gate uses 33-degree slopes below 45-degree ones for exactly this effect.
The gable roof
A gable roof has two sloping sides that meet at a ridge, with a triangular wall, the gable, filling each end. It is the first roof most people build.
Gable roofs go up in courses: a row of slopes along each long side, then a row set further in on top, until the two sides meet. Each course has to rest on the back half of the one below, which is why the roof narrows by the slope’s depth every time. Count the width of the building in studs before you start: an even width closes neatly with a double slope at the ridge, while an odd width leaves a one-stud gap that needs a different ridge piece. The Beach Hut is a compact example to step through.
The ridge
Where the two sides meet you need a piece that slopes both ways. Double slopes do this: a 2 x 2 or 2 x 4 brick with a slope on each side. Lay them along the top of the last course and the ridge is closed with no gap.
The gable ends
The triangle at each end has to be filled course by course, one stud narrower on each side per course of 45-degree slopes. Two ways to do it from the builds on this site:
- Bricks in a contrasting color, as on the beach hut, where white gable bricks stand out against the red slopes.
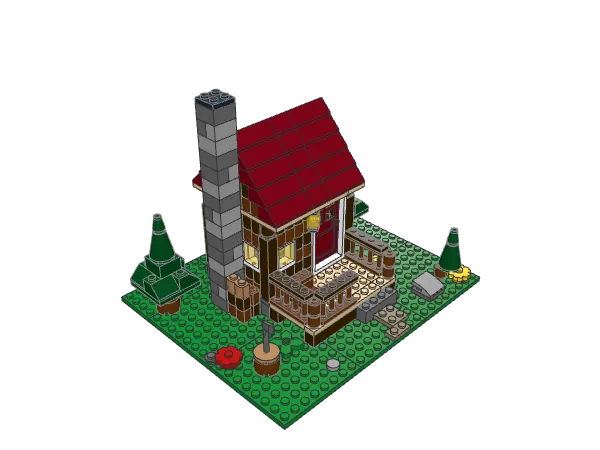
- The wall material carried up, as on the Log Cabin, whose gable ends are logs too, stepping from long logs at the base of the triangle to short ones at the peak, each centered over the course below. The timber texture runs right up under the roof.
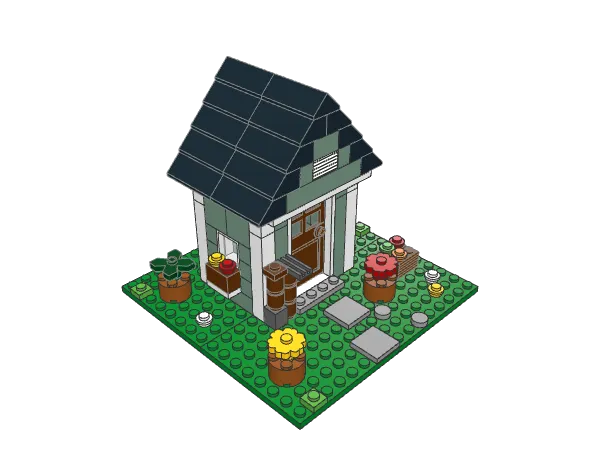
The Garden Shed adds a nice detail: its gable faces the front, and a white grille brick set into the middle of it, ribs horizontal, reads as a louvered vent.
The hip roof
A hip roof slopes on all four sides, with no gable walls. It looks lower and more settled than a gable, and together with its hip-and-gable variant (below) it is a common shape for traditional East Asian temples and houses.
The difficult part is the corners. A normal slope only faces one way, so each outer corner needs a convex corner slope, a piece that slopes two ways at once. Where two wings of a building meet at an inside corner you need the opposite, a concave piece that forms a valley.
The order of placement matters more than on a gable:
- Place the four corner pieces first. They fix where the ring sits.
- Fill each side between two corners with straight slopes.
- Check the direction of every slope before pressing it down: the low edge belongs at the eave, the high edge points in toward the ridge.
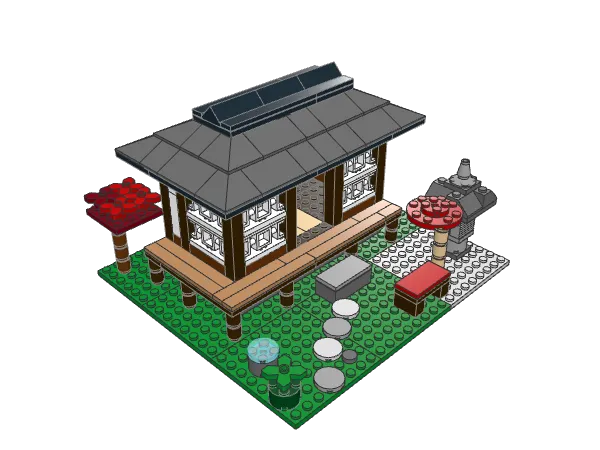
Why corners first? A corner slope is the one piece that cannot be shifted along the edge, so it fixes the ring, and the straight slopes between corners only have to fill whatever length is left. If you fill the sides first, the last gap rarely matches the corner piece. With 33-degree slopes, each ring is also two studs narrower than the one below on every side, because that is how far a 33-degree slope reaches. The Tea House is a two-ring hip roof and the best place to practice.
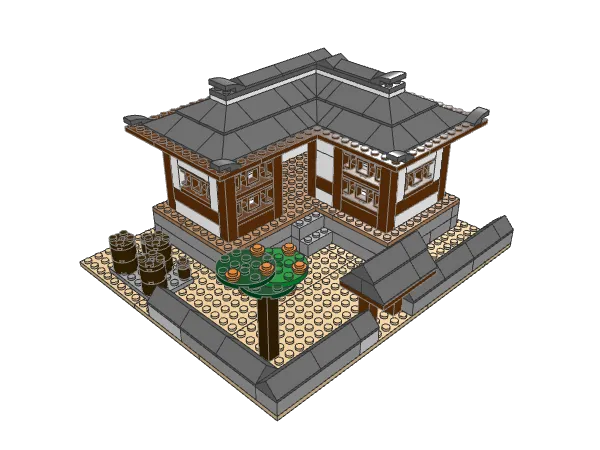
An L-shaped building adds the inside corner. The Hanok House is worth opening for this: follow one wing’s roof round the bend and see how the valley piece lets two hipped roofs meet without a flat patch.
Hip-and-gable roofs
Many Korean, Japanese and Chinese roofs are a hybrid: hipped at the bottom, so all four eaves sweep out, with a small gable near the top. In brick, build the lower courses as a hip ring, then stop turning the corners and carry only the two long sides up, filling the short ends with a small triangle as on a gable. The upper roof of Sungnyemun Gate ends this way, and the tiers of the Japanese Castle set triangular gables of 45-degree slopes onto 33-degree skirt roofs.
Eaves: letting the roof overhang
The eave is the part of the roof that sticks out past the wall. It throws a shadow under the roofline, which makes a building look solid and finished instead of like a box with a lid.
In brick, eaves usually start with a ring of plates laid across the top of the walls that reaches past them on the outside. The slopes then sit on those plates. The amount of overhang changes the character of the building:
- One stud is a neat, modest edge. The Garden Shed caps its walls with a white 8 x 8 plate that overhangs one stud at the front and back, leaving a thin white line under the roof.
- Two studs is a deep eave, typical of Japanese and Korean buildings, where the roof was meant to keep rain off timber walls. Both the Udon Shop and the Tea House use it; on the udon shop the overhang is only on the front and back, which keeps the sides flush with the neighbors in a row of townhouses.
Supporting a deep eave
The rule is the same as for any overhang: anchor more than you hang, then lock the plates from above. A plate that reaches two studs past a wall is only held by the studs over the wall itself, so the slopes that go on next do real structural work: they bridge the joint between the eave plates and the wall top and clamp both together. Because every later course is measured from those plates, a plate set one stud off does not stay a small error; it shifts every course above it.
You do not need to fill the whole roof with plates. On the hanok, only a band of eave plates reaching two studs past the beam ring is used, and the middle of the roof stays hollow. This saves parts and weight.
Tiered and stepped roofs
Some buildings stack several roofs, each smaller than the one below. This is the pagoda shape, and it is mostly about rhythm.
On the Five-Story Pagoda, every story repeats the same sequence: wall, eave plates, a ring of roof slopes. Each ring starts with its four corner pieces, exactly as on a single hip roof. Once you have built one story, the rest is the same pattern a size smaller, so the real decision is how much each tier shrinks. Too little and the tower looks like a stack of equal boxes; too much and it runs out of width before the top.
Round tiers work differently, because slopes do not bend. An inverted dish is a whole round roof in one piece, and dishes come in a range of diameters, so a stack of them in shrinking sizes makes a tiered round roof in a few parts. The Temple of Heaven uses this, with a thin round plate of a different color under each dish to suggest a painted eave.
Flat roofs and parapets
A flat roof is easy to build but easy to make dull. The trick is a parapet: a low rim around the edge that gives the top some depth.
The Bus Stop shows the method. Two gray 6 x 8 plates bridge the shelter posts. A ring of red 1 x 6 bricks stands around their edge, a green plate drops inside that rim and white tiles cap the red bricks. The result looks like a planted roof with a trimmed edge, and it took only three short steps.
Classical buildings use the same idea in stone: the Lincoln Memorial carries a one-stud cornice and a plain two-course attic under its flat roof.
Curved and upturned roofs
Korean and Japanese roofs often sag slightly in the middle and lift at the corners. Bricks cannot curve, but a few tricks get close.
- Curved slopes at the tips. A small curved slope placed at an eave corner with its high end facing outward gives the tip a lift that a straight slope cannot. The same trick at the ends of the ridge makes the whole roof look as if it curves. The Hanok House uses both.
- Raised corners. Plates are one third of a brick, so a stack of one or two under the corner slopes raises them by a step the eye reads as a curve, especially if the pieces next to the corner get half that lift. On Sungnyemun Gate the roof edge climbs toward every corner this way. Line up all the risers before the next course goes on; a riser left out cannot be added later.
- A curved gable. The Japanese Castle builds its curved kara-hafu gables from a pair of curved slopes, next to triangular gables made from 45-degree slopes.
These details take the most care in each build, so slow down and check each piece’s direction before pressing it on.
Roof color
A roof should contrast with the walls, or the building turns into a single block of color. Most builds here use a roof that is clearly darker than the walls:
- The Garden Shed has plain black slopes over sand green and white walls.
- The Log Cabin has a dark red roof over brown logs.
- The Five-Story Pagoda has dark bluish gray roofs over dark red and white walls.
A roof can also change color partway up. Santa’s Workshop starts with a dark brown eave course and turns white above it, so it looks like snow lying on a roof rather than a white roof.
A roof you can lift off
If you adapt a design and want to see inside, build the roof as its own unit that rests on the top wall course, held by a few studs at the corners, with no roof plate tying two walls together. The walls then need their own top course to stay rigid. Lift the roof straight up to test it: if a wall comes with it, find the plate that connects them.
Common roof mistakes
- A slope turned the wrong way. It often only shows when the next course will not fit, so check each course from the side in the viewer before moving on.
- Skewed eave plates. Count the overhang on every side before pressing the plates down.
The quickest way to learn roofs is to watch one go up: open a build above, step through its roof slowly and rotate the model after each course. Our guide to how to read the instructions explains the viewer controls.