Guide
Cleaning, storing and displaying your builds
How to dust a finished model, wash loose LEGO® bricks safely, keep white parts from yellowing, store or take apart builds, and display them well.
A finished model is only finished for a moment. After that it sits on a shelf, gathers dust, gets moved, gets bumped and, sooner or later, gets taken apart or packed away. A little care at each stage keeps your LEGO® bricks looking new and your builds in one piece, and almost none of it takes longer than a few minutes.
Dusting a finished model
Dust settles into every gap between studs, and a model on an open shelf starts to look gray within a few weeks. Regular light dusting is much easier than a deep clean later.
- Use a soft brush. A clean, dry paintbrush, a make-up brush or a soft camera lens brush reaches between studs and into corners without pulling pieces off. Work from the top down so the dust falls onto parts you have not done yet.
- Use gentle air. A hand-squeezed blower bulb, the kind sold for camera lenses, lifts dust out of tight spots. Avoid strong compressed air close to the model: it can blow off small parts such as flowers, antennas and 1 × 1 tiles.
- Skip the cloth on detailed areas. A duster or cloth catches on studs and small parts. Keep it for flat tiled surfaces such as roofs and streets.
- Hold the model, not the details. Steady it by the baseplate or a solid wall while you brush. Towers, spires and railings are the parts most likely to come off.
How often depends on the room. Every few weeks is enough for most shelves; a glass-fronted cabinet or a clear cover cuts dust almost completely.
Washing loose bricks
Sometimes dusting is not enough: bricks from a secondhand lot, a box that lived in the garage, or parts that spent a summer in a sandpit. Take the model apart first, and wash the loose bricks by hand.
- Sort out what should stay dry. Anything with electrical parts, such as lights, motors and battery boxes, must not go in water. Keep printed pieces and pieces with stickers out as well, or wipe them gently with a damp cloth instead; soaking and scrubbing can wear prints and lift stickers.
- Use lukewarm water and mild soap. Fill a bowl or sink with water no hotter than about 40 °C (104 °F) and a little mild washing-up liquid. Hot water can warp bricks, and a warped brick never fits properly again.
- Wash by hand. Swirl the bricks around, and use a soft brush, such as an old soft toothbrush, on dirty corners and the inside of bricks. Do not use a dishwasher or a washing machine: the heat and the tumbling can warp and scratch parts.
- Rinse in clean water.
- Air dry. Spread the bricks out on a towel, open side down so water drains, and leave them until they are completely dry, which can take a day or more for the inside of large bricks. Do not use a hairdryer or put them on a radiator or in the sun; the heat can warp them.
Make sure everything is dry before it goes back in a box. Damp bricks in a closed container can smell musty.
Sunlight and yellowing
The biggest long-term threat to a displayed model is not dust but light. Direct sunlight through a window slowly turns white and light gray parts yellow, and it can fade other colors too. Once a part has yellowed, it does not go back to its original color on its own.
- Keep models out of direct sun. A shelf on the side of a room that never gets a sunbeam is ideal. If a model sits by a window, watch where the sun falls through the day and through the seasons.
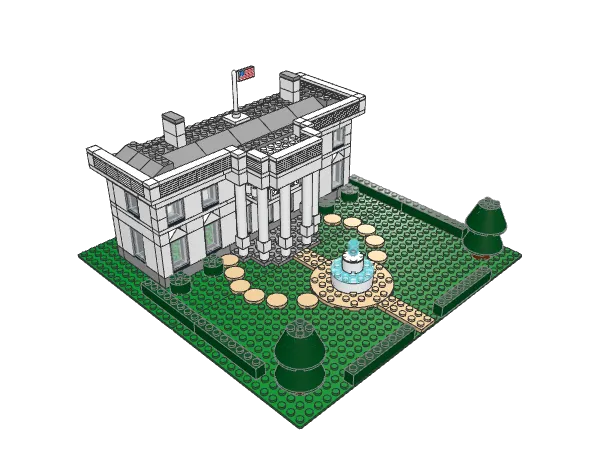
- White and light builds are the most at risk. The White House with its white facade, snowy scenes and white baseplates all show yellowing first.
- Rotate seasonal models into storage. A Christmas build that spends eleven months in a box gets far less light than one that stays on a sunny windowsill all year.
Keep it built or take it apart?
There is no right answer, but it helps to decide on purpose instead of leaving everything built until the shelves run out.
| Keep it built when… | Take it apart when… |
|---|---|
| You look at it often, or it is part of a display | It has sat untouched for months |
| It took many hours and you might not rebuild it | You need its parts for a new build |
| It is a seasonal model you bring out every year | It is small and quick to rebuild from the steps |
Every build on this site keeps its steps and parts list online, so taking a model apart does not mean losing it. To make rebuilding easy:
- Bag the parts per model. A zip bag with the model name on a strip of tape keeps its parts together. The parts list on the build page tells you exactly what belongs inside.
- Or return parts to your sorted collection. If you build often, putting parts back in their drawers by type is usually better than keeping many half-full bags. See sorting and finding parts for a simple system.
- Store built models covered. If a model goes into a cupboard built, a box or a loose cover over it keeps the dust off. Do not stack anything on top.
Displaying your builds
A few small choices make a shelf of models look like a display instead of storage.
Give each model a base
Most builds on this site stand on their own baseplate, which makes them easy to move and keeps the edges of the model straight. On a shelf, leave a little space around each base so the models do not touch: a gap of a finger’s width makes each one read as its own piece.
Group by theme
Models of the same kind look better together than scattered around the house.
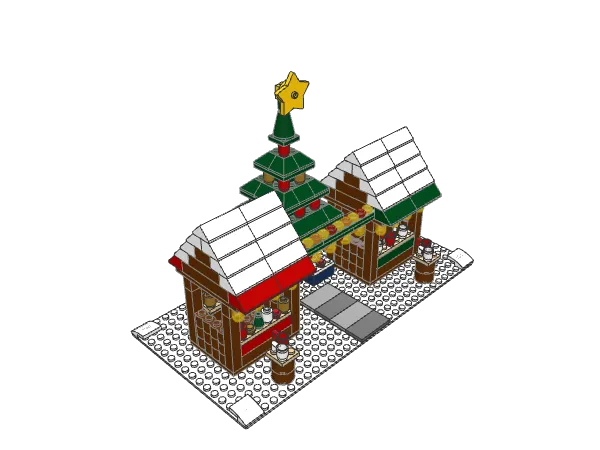
- A Christmas village. Builds on matching snowy bases line up into one winter street; LEGO® Christmas building ideas explains how to make separate models read as one village.
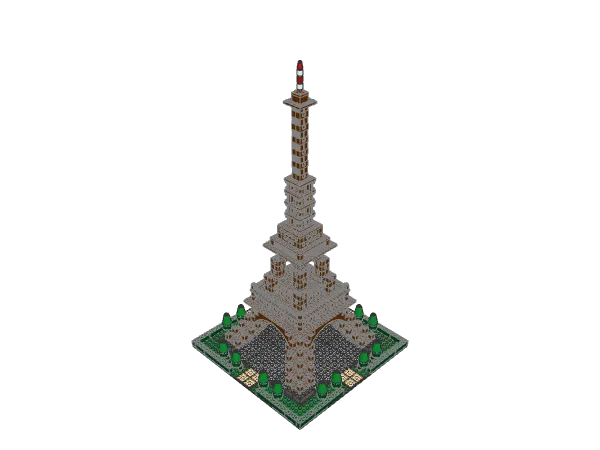
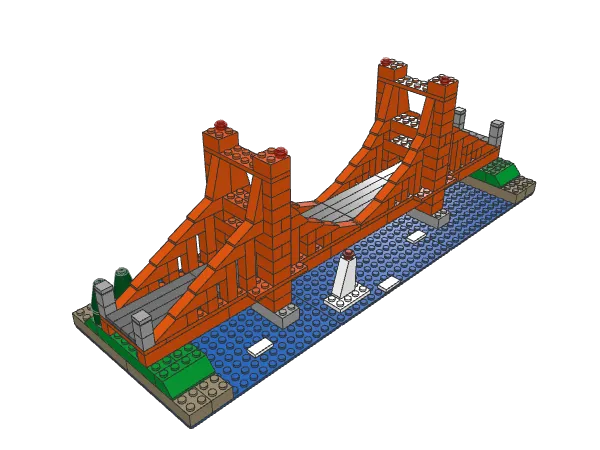
- A landmarks shelf. Monuments from different countries, side by side, make a small world tour. Tall builds like the Eiffel Tower work well at the ends of a shelf or in a corner, with long, low builds like the Golden Gate Bridge in front or in the middle. The full list is in the landmarks collection.
Think about height and depth
- Tall at the back, low at the front. On a deep shelf, put tall models behind low ones so nothing is hidden.
- Turn models to their best side. Most builds have one side with the most detail, usually the front with the door or the entrance. Turn that side out, and angle a model slightly if its side is interesting too.
- Eye level for detail. Small, detailed builds look best on shelves near eye level; big silhouettes can go higher.
Add a label
A small printed card with the model’s name, the number of pieces and the date you built it turns a shelf into a little collection. It also helps visitors, and children, know what each model is.
Moving a model safely
Most breakage happens on the way from the table to the shelf, or when moving house.
- Carry it by the base, with two hands. Never lift a model by a tower, a roof or a bridge deck. If the model has no baseplate, slide a tray or a board under it first.
- Remove loose details first. Flags, antennas, flowers, lamp posts and anything else that sticks out can go in a small bag and back on after the move.
- Split big models into sections. Large builds made of separate parts, such as a roof that lifts off or a building that stands on several baseplates, travel better in pieces.
- For longer trips, box it. Put the model in a box only slightly larger than it, with soft packing around it but not pressing on fragile parts. Mark the box “this way up”.
- Check it on arrival. Press down any bricks that loosened in transit before the model goes back on display. If a section has come apart, the step-by-step instructions show how to rebuild it.