Floating Torii: Step-by-step building instructions
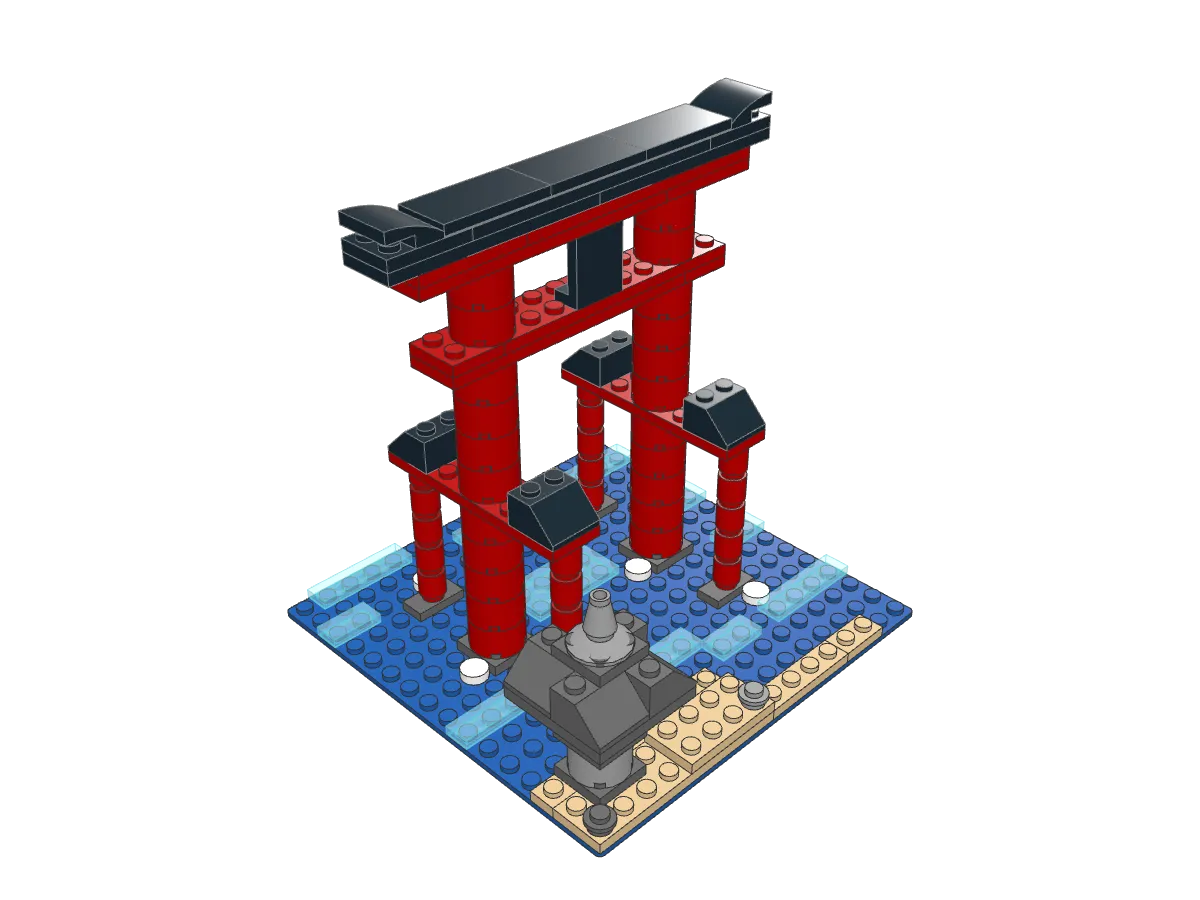
An original build inspired by the great torii of Itsukushima standing in the sea, with vermilion pillars braced by support legs, a black upturned kasagi, a sandy shore and a stone lantern.
110 parts 16 steps Beginner
Loading 3D model Check your connection and try again.
Drag to rotate. Pinch or scroll to zoom.
Build steps
Finished model
Drag to look around, then build it in 16 steps.
Step 1 of 16
-
Step 1 · 7 pieces
Tip The four jumper plates run left to right, so their single centre stud lines up with the middle of each main pillar footing.
-
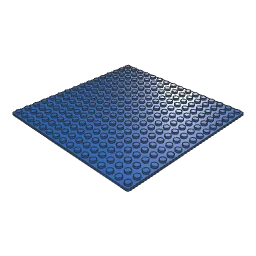 Baseplate 16 x 16 1×
-
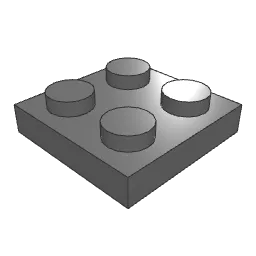 Plate 2 x 2 2×
-
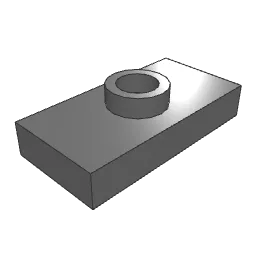 Plate 1 x 2 with Groove with 1 Centre Stud 4×
-
-
Step 2 · 8 pieces
-
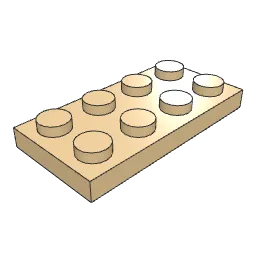 Plate 2 x 4 1×
-
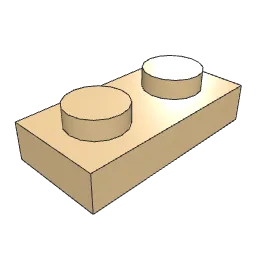 Plate 1 x 2 1×
-
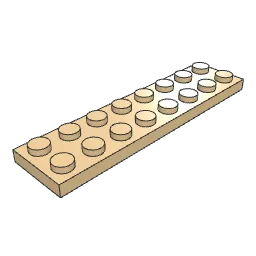 Plate 2 x 8 1×
-
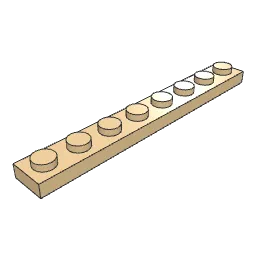 Plate 1 x 8 1×
-
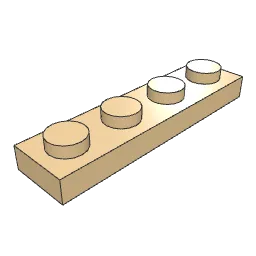 Plate 1 x 4 1×
-
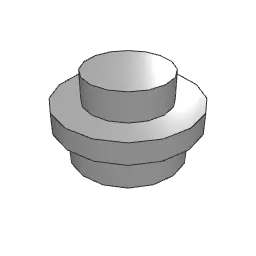 Plate 1 x 1 Round 1×
-
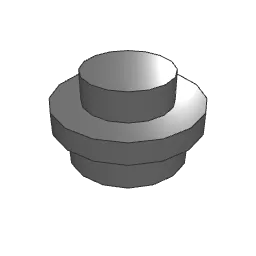 Plate 1 x 1 Round 2×
-
-
Step 3 · 15 pieces
-
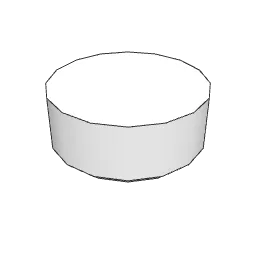 Tile 1 x 1 Round with Groove 4×
-
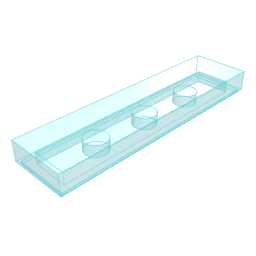 Tile 1 x 4 with Groove 6×
-
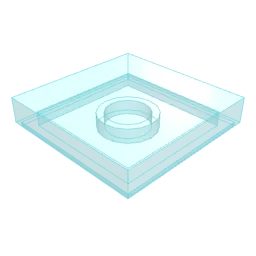 Tile 2 x 2 with Groove 1×
-
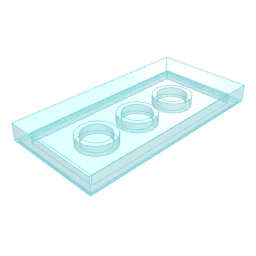
 Tile 1 x 2 with Groove 3×
-
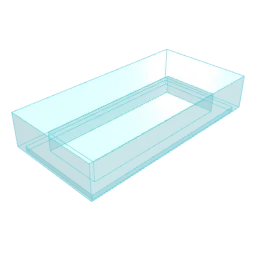
 Tile 2 x 4 1×
-
-
Step 4 · 10 pieces
-
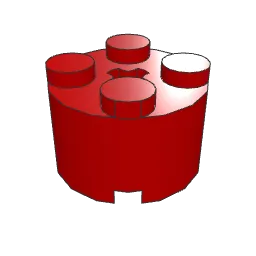 Brick 2 x 2 Round without Reinforcement 10×
-
-
Step 5 · 10 pieces
Tip Press each round brick onto the jumper's centre stud. Check that all four front legs end at the same height as the main pillars.
-
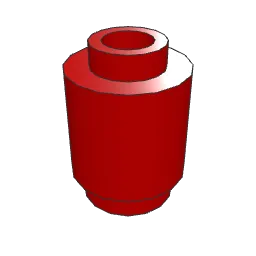 Brick 1 x 1 Round with Hollow Stud 10×
-
-
Step 6 · 10 pieces
- Brick 1 x 1 Round with Hollow Stud 10×
-
-
Step 7 · 6 pieces
Tip Each 2 x 8 brace plate runs front to back across one leg trio. Turn the rear cap around so both caps slope outward.
-
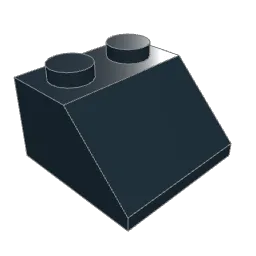 Slope Brick 45 2 x 2 4×
-
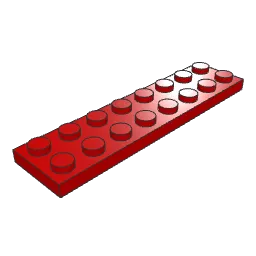 Plate 2 x 8 2×
-
-
Step 8 · 8 pieces
- Brick 2 x 2 Round without Reinforcement 8×
-
-
Step 9 · 4 pieces
Tip Lay the long nuki plate first, then cross its joint with the second layer. The joints should sit over different pillars.
-
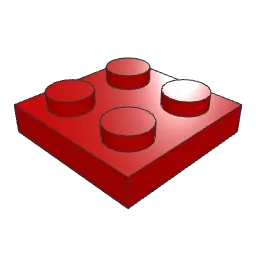 Plate 2 x 2 2×
-
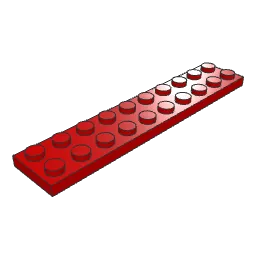 Plate 2 x 10 2×
-
-
Step 10 · 5 pieces
-
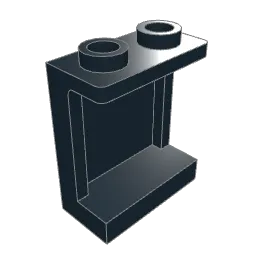 Panel 1 x 2 x 2 Reinforced 1×
- Brick 2 x 2 Round without Reinforcement 4×
-
-
Step 11 · 4 pieces
-
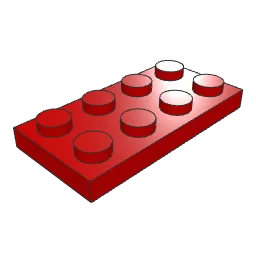 Plate 2 x 4 2×
- Plate 2 x 10 2×
-
-
Step 12 · 5 pieces
-
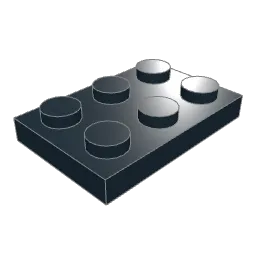 Plate 2 x 3 2×
-
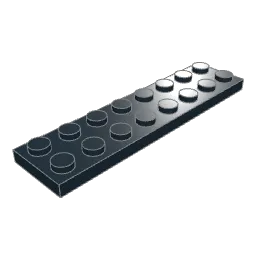 Plate 2 x 8 2×
-
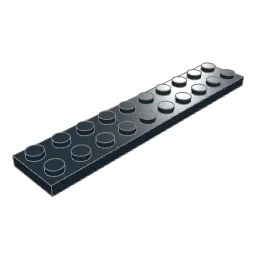 Plate 2 x 10 1×
-
-
Step 13 · 5 pieces
Tip Both curved end pieces rise toward the outside of the kasagi. If an end dips outward, turn that piece around.
-
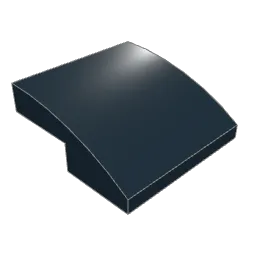 Slope Brick Curved 2 x 2 x 0.667 2×
-
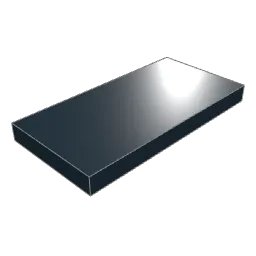 Tile 2 x 4 3×
-
-
Step 14 · 5 pieces
-
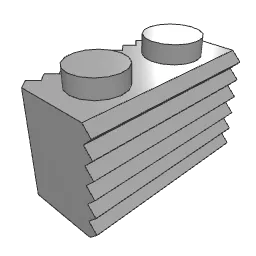 Brick 1 x 2 with Grille 2×
-
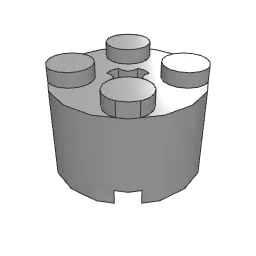 Brick 2 x 2 Round without Reinforcement 1×
- Plate 2 x 2 2×
-
-
Step 15 · 5 pieces
Tip Start with the slope at the front-left corner and work around the roof plate so the four slopes form a pinwheel.
-
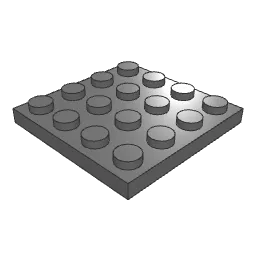 Plate 4 x 4 1×
-
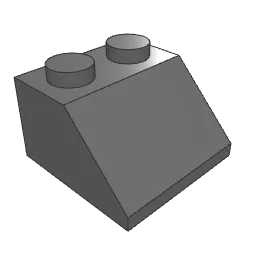 Slope Brick 45 2 x 2 4×
-
-
Step 16 · 3 pieces
-
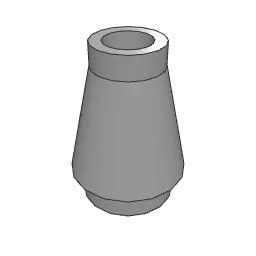 Cone 1 x 1 1×
-
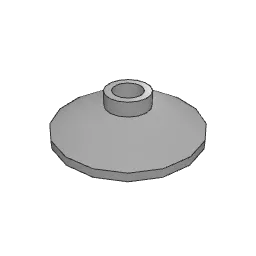 Dish 2 x 2 Inverted 1×
- Plate 2 x 2 1×
-
About this build
Off the island of Miyajima, the great torii of Itsukushima Shrine rises straight out of the sea. At high tide it seems to float; at low tide you can walk out to its feet. This original build is a small tribute to that view.
What sets the gate apart from most torii is its ryobu frame: each of the two main pillars is braced by a pair of thinner support legs, one in front and one behind, tied to it by short beams. That six-legged stance is the heart of the model. The main pillars are stacks of red 2 × 2 round bricks, the support legs are 1 × 1 round bricks standing on grey jumper plates, and a red 2 × 8 plate locks each trio together under small black roof caps.
Higher up, the red nuki crossbeam runs through both pillars with a dark plaque standing on it. Above that sits the red shimaki and the heavy black kasagi, which ends in curved slopes so its tips sweep upward.
The sea is a blue 16 × 16 baseplate. Its open studs read as choppy water, while light blue tiles and a few white round tiles add ripples and foam around the legs. A strip of tan plates forms the shore, with a grey stone lantern standing on the sand.
At a glance
- 110 parts in 16 steps, on a 16 × 16 stud base
- Gate about 14 bricks tall, kasagi 16 studs wide
- About 30–45 minutes for most builders
Steps 5 and 6 are the most repetitive: ten round bricks per step, and every leg must sit on the single centre stud of its jumper plate. In step 9, stagger the two nuki layers so their joints do not line up.
Parts list
How to read these instructionsEvery piece is a standard LEGO® element, listed with its LDraw part number and color.
| Part | Name / ID | Color | Qty |
|---|---|---|---|
| Slope Brick Curved 2 x 2 x 0.66715068 | Black | 2 |
| Plate 2 x 33021 | Black | 2 |
| Plate 2 x 83034 | Black | 2 |
| Slope Brick 45 2 x 23039 | Black | 4 |
| Plate 2 x 103832 | Black | 1 |
| Tile 2 x 487079 | Black | 3 |
| Panel 1 x 2 x 2 Reinforced87552 | Black | 1 |
| Baseplate 16 x 163867 | Blue | 1 |
| Plate 2 x 43020 | Red | 2 |
| Plate 2 x 23022 | Red | 2 |
| Plate 2 x 83034 | Red | 2 |
| Brick 1 x 1 Round with Hollow Stud3062b | Red | 20 |
| Plate 2 x 103832 | Red | 4 |
| Brick 2 x 2 Round without Reinforcement3941 | Red | 22 |
| Tile 1 x 1 Round with Groove98138 | White | 4 |
| Plate 2 x 43020 | Tan | 1 |
| Plate 1 x 23023b | Tan | 1 |
| Plate 2 x 83034 | Tan | 1 |
| Plate 1 x 83460 | Tan | 1 |
| Plate 1 x 43710 | Tan | 1 |
| Tile 1 x 4 with Groove2431 | Trans Light Blue | 6 |
| Tile 2 x 2 with Groove3068b | Trans Light Blue | 1 |
| Tile 1 x 2 with Groove3069b | Trans Light Blue | 3 |
| Tile 2 x 487079 | Trans Light Blue | 1 |
| Brick 1 x 2 with Grille2877 | Light Bluish Grey | 2 |
| Brick 2 x 2 Round without Reinforcement3941 | Light Bluish Grey | 1 |
| Cone 1 x 14589 | Light Bluish Grey | 1 |
| Dish 2 x 2 Inverted4740 | Light Bluish Grey | 1 |
| Plate 1 x 1 Round6141 | Light Bluish Grey | 1 |
| Plate 2 x 23022 | Dark Bluish Grey | 5 |
| Plate 4 x 43031 | Dark Bluish Grey | 1 |
| Slope Brick 45 2 x 23039 | Dark Bluish Grey | 4 |
| Plate 1 x 2 with Groove with 1 Centre Stud3794b | Dark Bluish Grey | 4 |
| Plate 1 x 1 Round6141 | Dark Bluish Grey | 2 |
| Total pieces | 110 | ||
More builds like this
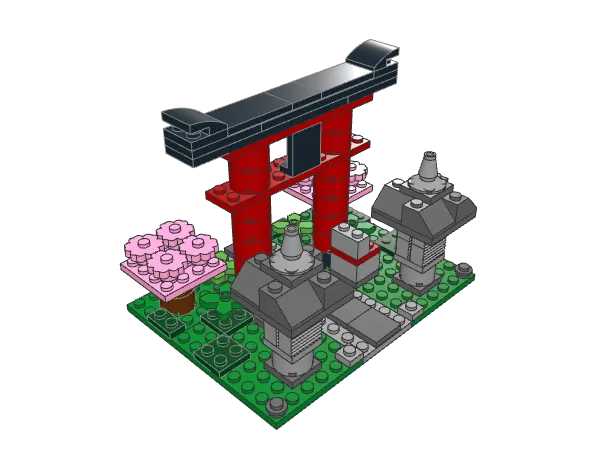
Find more in Easy for beginnersLandmarksJapanese