Stone Lantern: Step-by-step building instructions
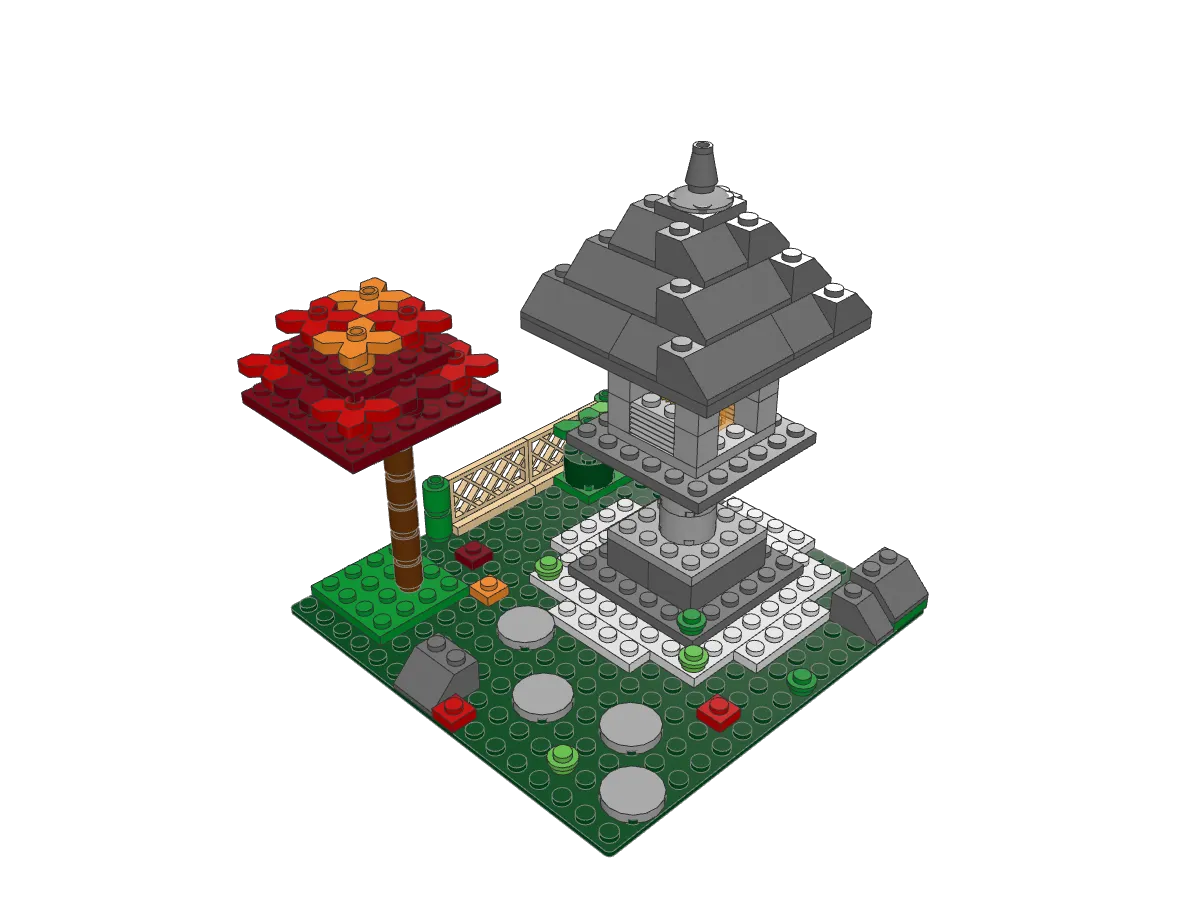
A Kasuga-style Japanese stone garden lantern with a stepped base, a round post, a glowing light box and a wide pyramid cap, on raked gravel among moss, stepping stones and a small red maple.
112 parts 14 steps Beginner
Loading 3D model Check your connection and try again.
Drag to rotate. Pinch or scroll to zoom.
Build steps
Finished model
Drag to look around, then build it in 14 steps.
Step 1 of 14
-
Step 1 · 6 pieces
-
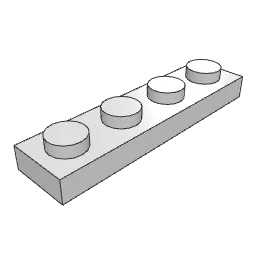 Plate 1 x 4 4×
-
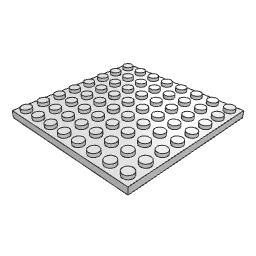 Plate 8 x 8 1×
-
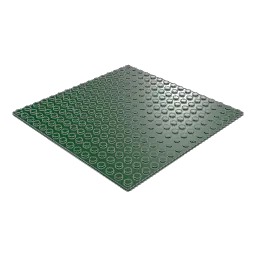 Baseplate 16 x 16 1×
-
-
Step 2 · 7 pieces
-
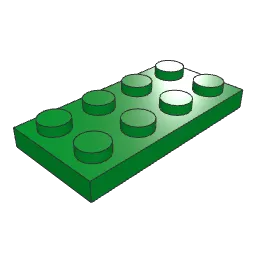 Plate 2 x 4 1×
-
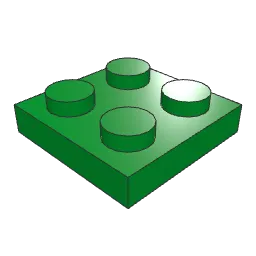 Plate 2 x 2 1×
-
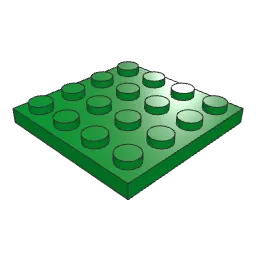 Plate 4 x 4 1×
-
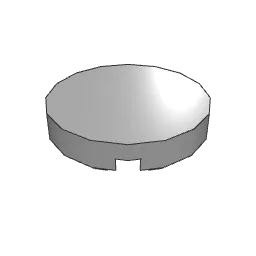 Tile 2 x 2 Round with Round Underside Stud 4×
-
-
Step 3 · 6 pieces
Tip Centre the 6 x 6 base plate on the gravel so one row of gravel studs stays free on every side; the moss tufts sit on two opposite corners of the base.
-
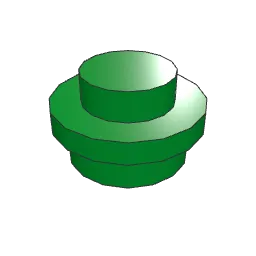 Plate 1 x 1 Round 1×
-
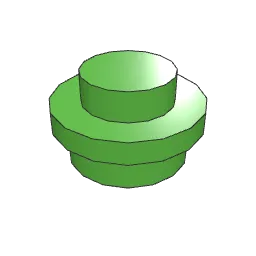 Plate 1 x 1 Round 1×
-
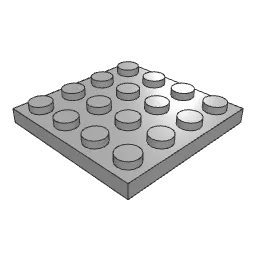 Plate 4 x 4 1×
-
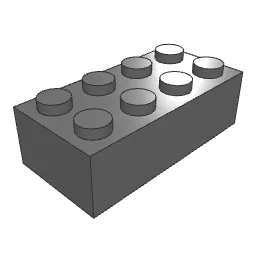 Brick 2 x 4 2×
-
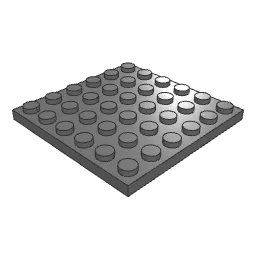 Plate 6 x 6 1×
-
-
Step 4 · 3 pieces
-
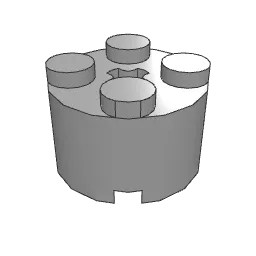 Brick 2 x 2 Round without Reinforcement 3×
-
-
Step 5 · 5 pieces
-
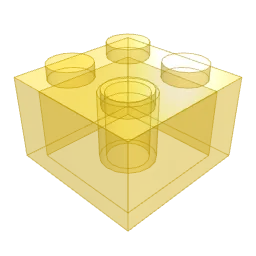 Brick 2 x 2 1×
-
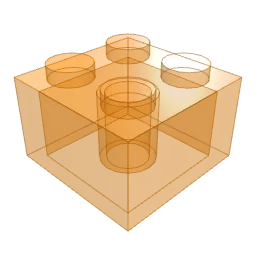 Brick 2 x 2 2×
- Plate 4 x 4 1×
- Plate 6 x 6 1×
-
-
Step 6 · 16 pieces
Tip The left side gets grilles only in the bottom course and leaves the middle open as a window. The top-left grille is added in step 7, hanging from the cap.
-
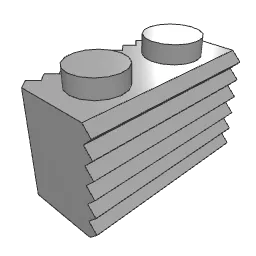 Brick 1 x 2 with Grille 4×
-
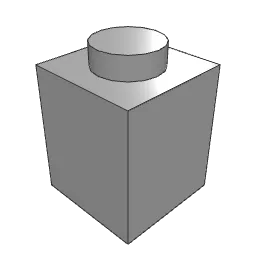 Brick 1 x 1 12×
-
-
Step 7 · 12 pieces
Tip Lay the four slope groups as a pinwheel: each one covers one side plus a corner, and every slope's low edge points outward. The two 2 x 4 bricks fill the centre.
- Brick 1 x 2 with Grille 1×
- Brick 2 x 4 2×
-
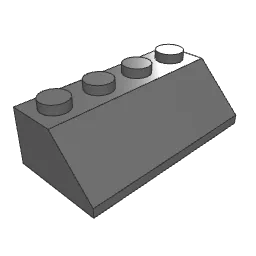 Slope Brick 45 2 x 4 4×
-
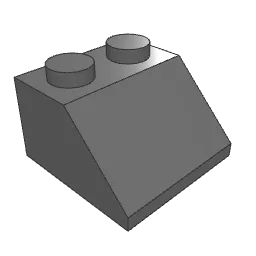 Slope Brick 45 2 x 2 4×
-
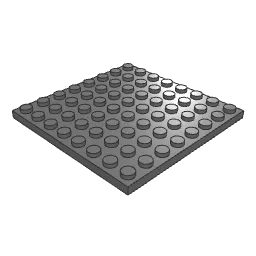 Plate 8 x 8 1×
-
-
Step 8 · 12 pieces
Tip The second ring repeats the pinwheel one stud further in on each side, and the four small slopes of the third ring are capped by a single 2 x 2 plate for the finial.
-
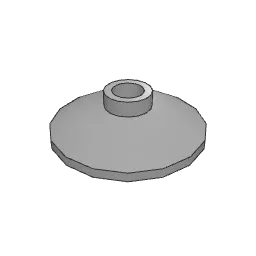 Dish 2 x 2 Inverted 1×
-
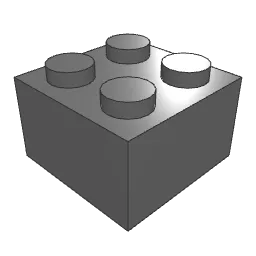 Brick 2 x 2 1×
-
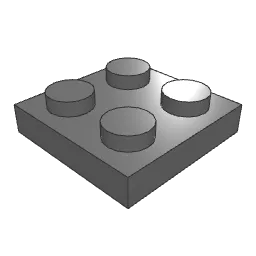 Plate 2 x 2 1×
- Slope Brick 45 2 x 4 4×
- Slope Brick 45 2 x 2 4×
-
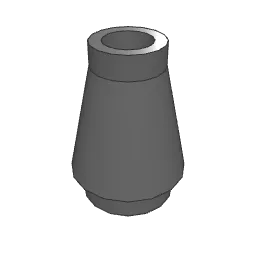 Cone 1 x 1 1×
-
-
Step 9 · 7 pieces
-
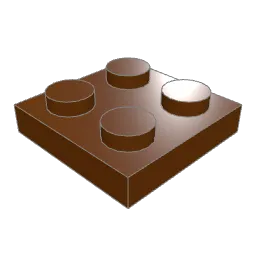 Plate 2 x 2 1×
-
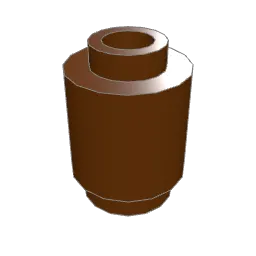 Brick 1 x 1 Round with Hollow Stud 6×
-
-
Step 10 · 10 pieces
Tip Put the four bright red leaves on the corners and the dark red ones on the edges; the brown 2 x 2 brick in the centre carries the upper canopy.
-
 Plant Flower 2 x 2 Leaves 4×
-
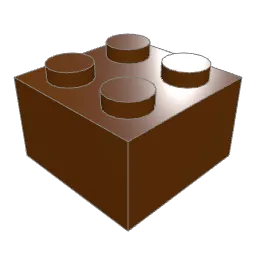 Brick 2 x 2 1×
-
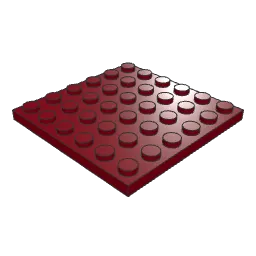 Plate 6 x 6 1×
-
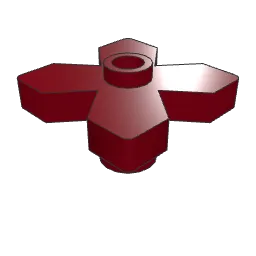 Plant Flower 2 x 2 Leaves 4×
-
-
Step 11 · 5 pieces
- Plant Flower 2 x 2 Leaves 2×
-
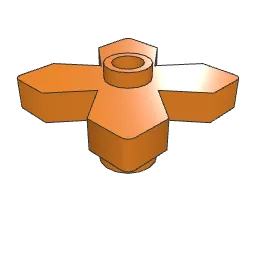 Plant Flower 2 x 2 Leaves 2×
-
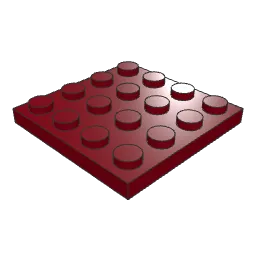 Plate 4 x 4 1×
-
-
Step 12 · 7 pieces
-
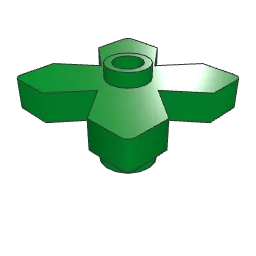 Plant Flower 2 x 2 Leaves 1×
-
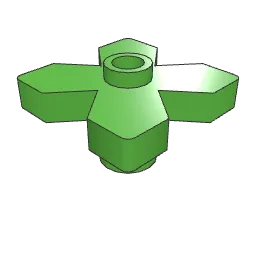 Plant Flower 2 x 2 Leaves 1×
- Slope Brick 45 2 x 2 2×
-
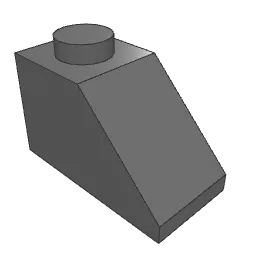 Slope Brick 45 2 x 1 1×
-
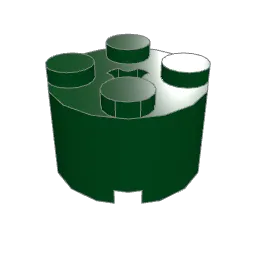 Brick 2 x 2 Round without Reinforcement 2×
-
-
Step 13 · 6 pieces
-
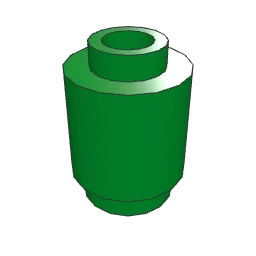 Brick 1 x 1 Round with Hollow Stud 4×
-
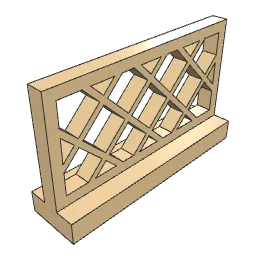 Fence Lattice 1 x 4 x 2 2×
-
-
Step 14 · 10 pieces
- Plate 1 x 1 Round 2×
-
 Plate 1 x 1 2×
- Plate 1 x 1 Round 4×
-
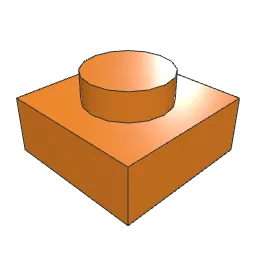 Plate 1 x 1 1×
-
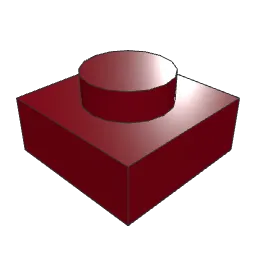 Plate 1 x 1 1×
-
About this build
Stone lanterns, or ishi-doro, began as votive lights at Buddhist temples and shrines in Japan and later moved into tea gardens, where they lit the path at dusk. The Kasuga style, named after the shrine in Nara famous for its rows of them, stacks a set of separate stone tiers on top of each other. That stack is what this build copies.
From the gravel up: a stepped base of dark and light grey, a round post of three 2 x 2 round bricks, a wide middle platform, then the light box itself. Grille bricks form its sides, with a window left open on the left and the whole front and back open, so a trans-orange and trans-yellow core glows inside. Over it sits the cap, deliberately oversized at 8 x 8 studs, built from three rings of 45-degree slopes laid in a pinwheel and finished with a dish and a cone for the jewel on top.
Around it, light grey gravel rests on a dark green moss baseplate. Round stepping stones lead in from the front corner, a red maple stands at the back left, and a tan lattice fence closes the garden behind.
At a glance
- 112 parts in 14 steps, on a 16 x 16 baseplate
- Lantern is 8 x 8 studs at the cap and about 14 bricks tall
- Roughly 30–45 minutes for most builders
Take care in steps 7 and 8: each slope faces outward and the four in a ring turn the same way round. For a winter scene, swap the maple leaves for white ones.
Parts list
How to read these instructionsEvery piece is a standard LEGO® element, listed with its LDraw part number and color.
| Part | Name / ID | Color | Qty |
|---|---|---|---|
| Plate 2 x 43020 | Green | 1 |
| Plate 2 x 23022 | Green | 1 |
| Plate 4 x 43031 | Green | 1 |
| Brick 1 x 1 Round with Hollow Stud3062b | Green | 4 |
| Plant Flower 2 x 2 Leaves4727 | Green | 1 |
| Plate 1 x 1 Round6141 | Green | 3 |
| Plate 1 x 13024 | Red | 2 |
| Plant Flower 2 x 2 Leaves4727 | Red | 6 |
| Plant Flower 2 x 2 Leaves4727 | Bright Green | 1 |
| Plate 1 x 1 Round6141 | Bright Green | 5 |
| Fence Lattice 1 x 4 x 23185 | Tan | 2 |
| Plate 1 x 13024 | Orange | 1 |
| Plant Flower 2 x 2 Leaves4727 | Orange | 2 |
| Brick 2 x 23003 | Trans Yellow | 1 |
| Brick 2 x 23003 | Trans Orange | 2 |
| Brick 2 x 23003 | Reddish Brown | 1 |
| Plate 2 x 23022 | Reddish Brown | 1 |
| Brick 1 x 1 Round with Hollow Stud3062b | Reddish Brown | 6 |
| Tile 2 x 2 Round with Round Underside Stud14769 | Light Bluish Grey | 4 |
| Brick 1 x 2 with Grille2877 | Light Bluish Grey | 5 |
| Brick 1 x 13005 | Light Bluish Grey | 12 |
| Plate 4 x 43031 | Light Bluish Grey | 2 |
| Brick 2 x 2 Round without Reinforcement3941 | Light Bluish Grey | 3 |
| Dish 2 x 2 Inverted4740 | Light Bluish Grey | 1 |
| Brick 2 x 43001 | Dark Bluish Grey | 4 |
| Brick 2 x 23003 | Dark Bluish Grey | 1 |
| Plate 2 x 23022 | Dark Bluish Grey | 1 |
| Slope Brick 45 2 x 43037 | Dark Bluish Grey | 8 |
| Slope Brick 45 2 x 23039 | Dark Bluish Grey | 10 |
| Slope Brick 45 2 x 13040b | Dark Bluish Grey | 1 |
| Plate 6 x 63958 | Dark Bluish Grey | 2 |
| Plate 8 x 841539 | Dark Bluish Grey | 1 |
| Cone 1 x 14589 | Dark Bluish Grey | 1 |
| Plate 1 x 43710 | Very Light Bluish Grey | 4 |
| Plate 8 x 841539 | Very Light Bluish Grey | 1 |
| Baseplate 16 x 163867 | Dark Green | 1 |
| Brick 2 x 2 Round without Reinforcement3941 | Dark Green | 2 |
| Plate 1 x 13024 | Dark Red | 1 |
| Plate 4 x 43031 | Dark Red | 1 |
| Plate 6 x 63958 | Dark Red | 1 |
| Plant Flower 2 x 2 Leaves4727 | Dark Red | 4 |
| Total pieces | 112 | ||
More builds like this
-
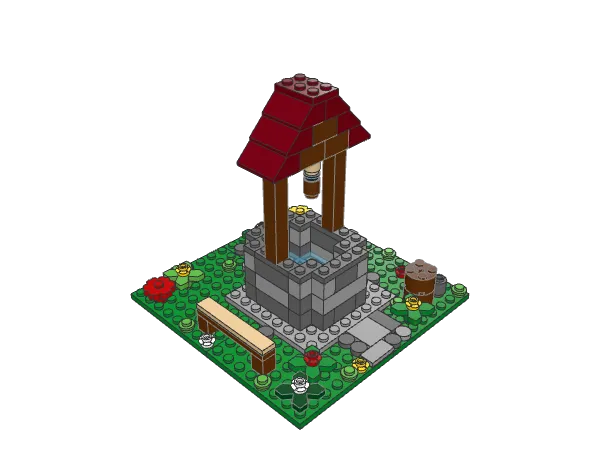 Street & Props
Stone Well
-
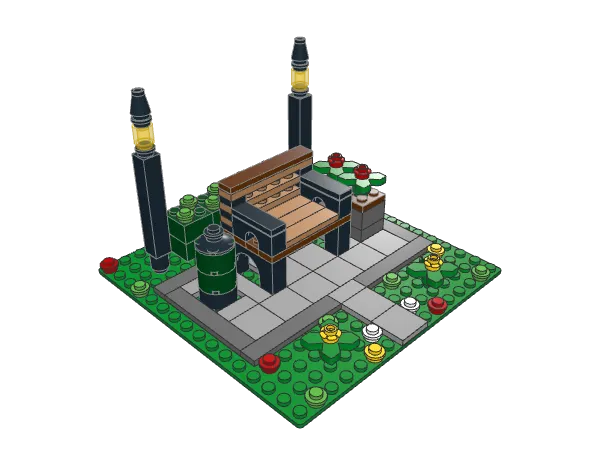 Street & Props
Park Bench
-
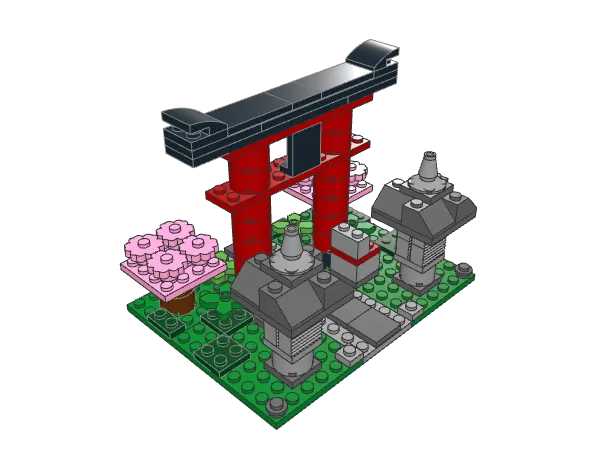 Landmarks
Torii Gate
-
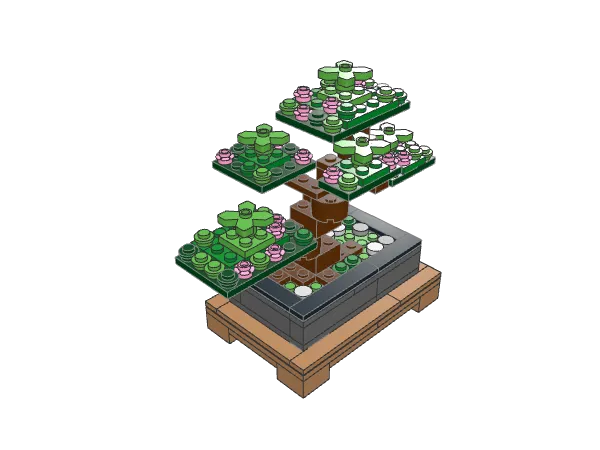 Nature & Outdoor
Bonsai Tree
Find more in Easy for beginnersJapanese