Stegosaurus: Step-by-step building instructions
A dark green stegosaurus with two staggered rows of orange back plates, a spiked tail, a small head held low and four sturdy legs, standing on dusty ground beside a fern and a grey boulder.
169 parts 15 steps Intermediate
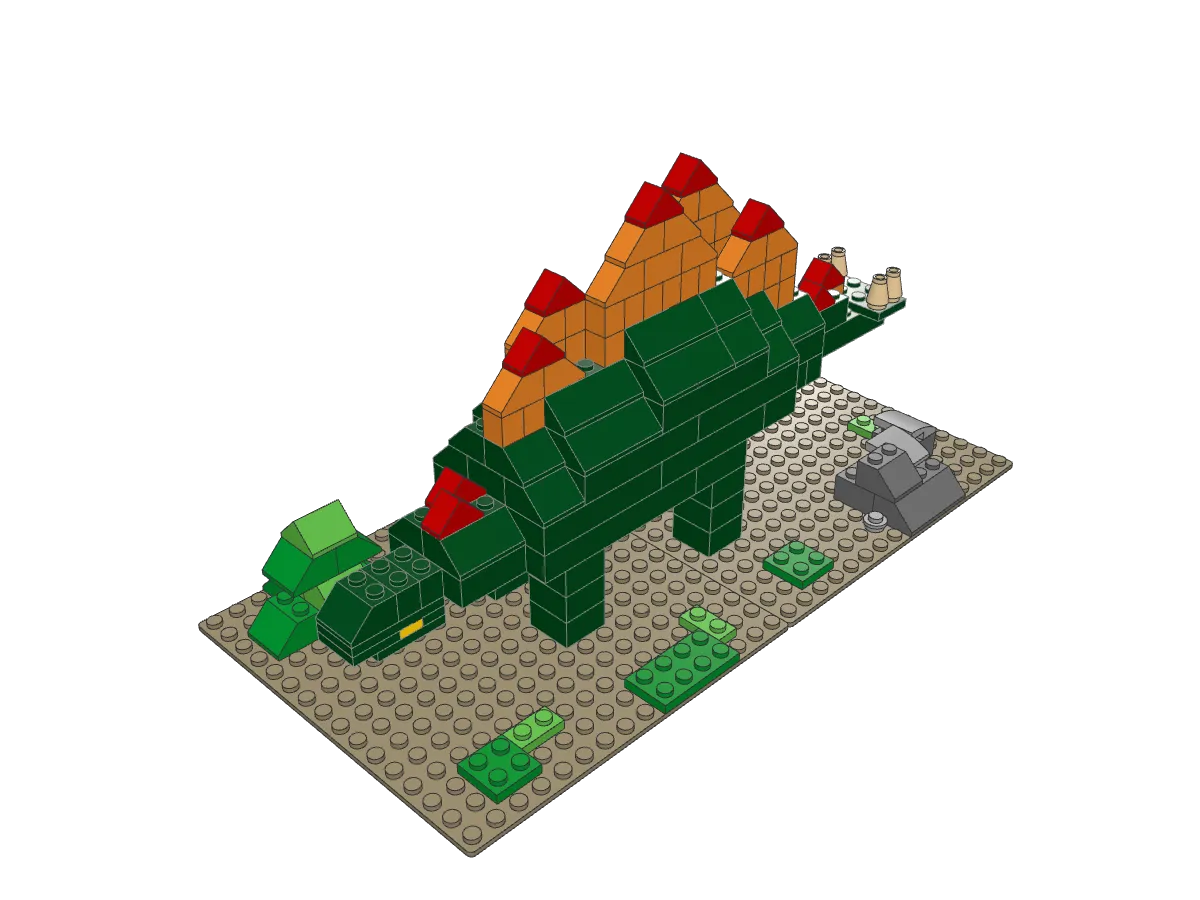
Loading 3D model Check your connection and try again.
Drag to rotate. Pinch or scroll to zoom.
Build steps
Finished model
Drag to look around, then build it in 15 steps.
Step 1 of 15
-
Step 1 · 11 pieces
-
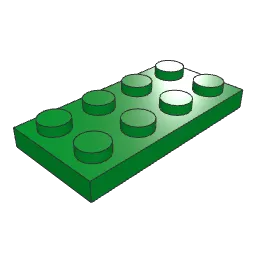 Plate 2 x 4 2×
-
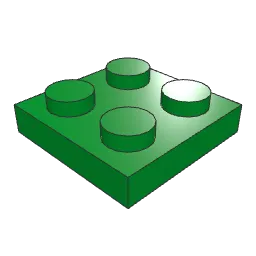 Plate 2 x 2 3×
-
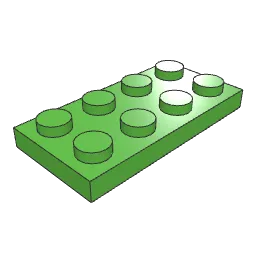 Plate 2 x 4 1×
-
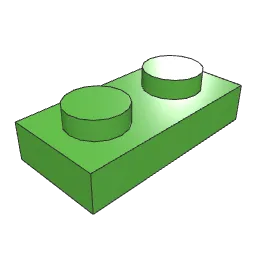 Plate 1 x 2 3×
-
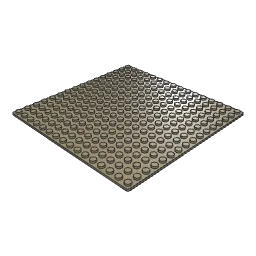 Baseplate 16 x 16 2×
-
-
Step 2 · 8 pieces
-
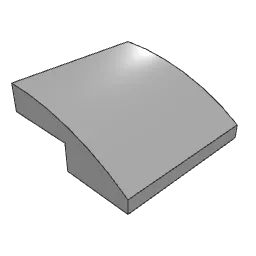 Slope Brick Curved 2 x 2 x 0.667 2×
-
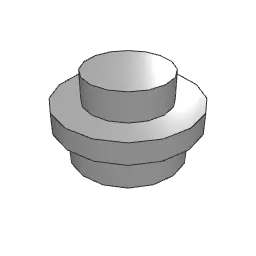 Plate 1 x 1 Round 1×
-
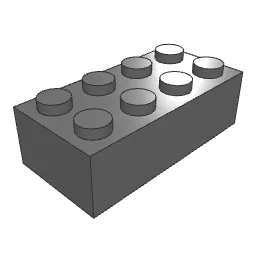 Brick 2 x 4 1×
-
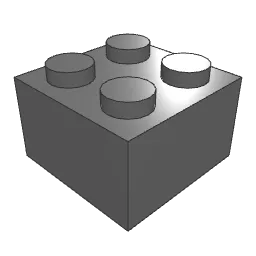 Brick 2 x 2 1×
-
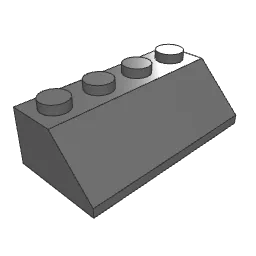 Slope Brick 45 2 x 4 1×
-
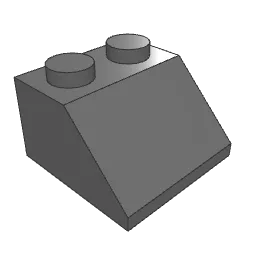 Slope Brick 45 2 x 2 1×
-
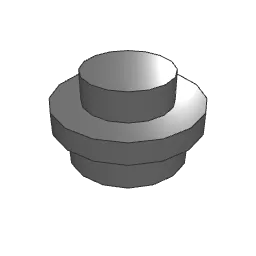 Plate 1 x 1 Round 1×
-
-
Step 3 · 12 pieces
Tip The front legs are three bricks tall and the hind legs are the same here; the hind pair gets an extra 2 x 3 thigh brick in the next step, which raises the hips.
-
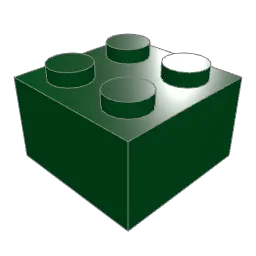 Brick 2 x 2 12×
-
-
Step 4 · 10 pieces
Tip The neck bricks reach forward over nothing yet. Hold them level; the long bricks in step 5 press down on them and lock them to the body.
-
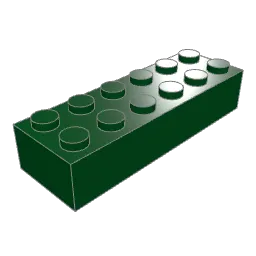 Brick 2 x 6 2×
-
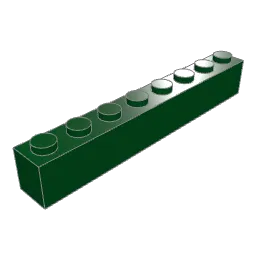 Brick 1 x 8 4×
-
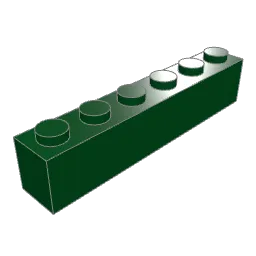 Brick 1 x 6 2×
-
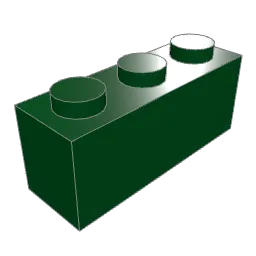 Brick 1 x 3 2×
-
-
Step 5 · 12 pieces
- Brick 2 x 6 8×
-
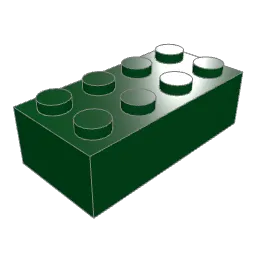 Brick 2 x 4 1×
-
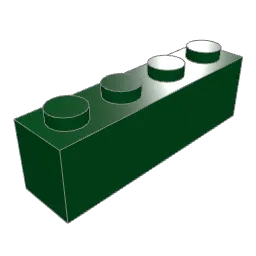 Brick 1 x 4 1×
-
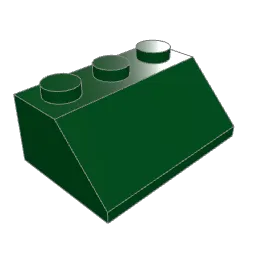 Slope Brick 45 2 x 3 2×
-
-
Step 6 · 12 pieces
Tip The dark green slopes face outward, front row toward you and back row away. Check every slope before going on, since a reversed one is easy to miss.
- Brick 2 x 6 7×
- Brick 2 x 2 1×
-
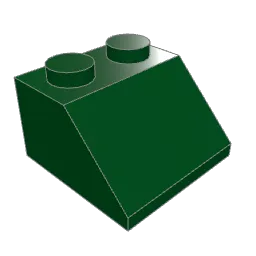 Slope Brick 45 2 x 2 2×
- Brick 1 x 3 2×
-
-
Step 7 · 12 pieces
- Brick 2 x 6 4×
-
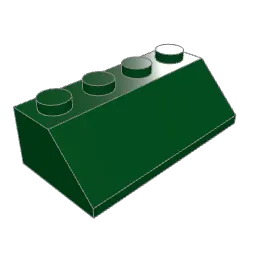 Slope Brick 45 2 x 4 2×
- Slope Brick 45 2 x 3 2×
- Slope Brick 45 2 x 2 4×
-
-
Step 8 · 9 pieces
- Brick 2 x 6 1×
- Slope Brick 45 2 x 4 4×
- Slope Brick 45 2 x 2 4×
-
-
Step 9 · 4 pieces
- Slope Brick 45 2 x 4 2×
- Slope Brick 45 2 x 2 2×
-
-
Step 10 · 8 pieces
Tip Press the 2 x 4 top plate up under the front of the neck first, then add the eye layer and jaw below it. The snout slope points left.
-
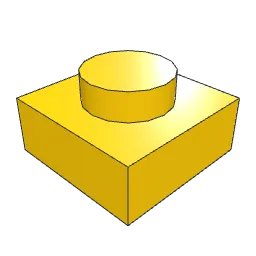 Plate 1 x 1 2×
-
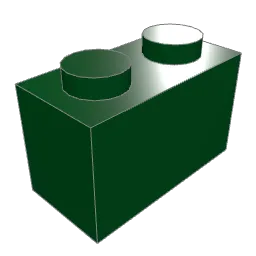 Brick 1 x 2 1×
-
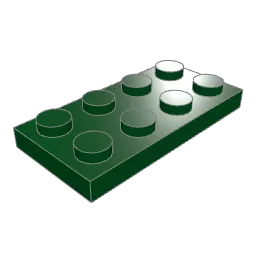 Plate 2 x 4 1×
-
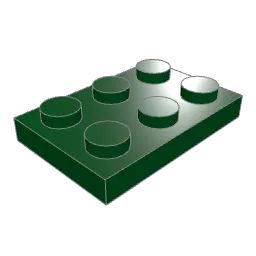 Plate 2 x 3 1×
-
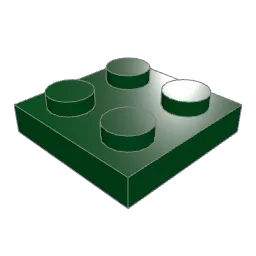 Plate 2 x 2 1×
-
 Plate 1 x 2 1×
- Slope Brick 45 2 x 2 1×
-
-
Step 11 · 14 pieces
-
 Slope Brick 45 2 x 1 Double 4×
-
 Brick 1 x 1 6×
-
 Slope Brick 45 2 x 1 4×
-
-
Step 12 · 27 pieces
Tip Each big hip plate stands on orange 1 x 1 bricks. Where the back dips, the column is one brick taller, so the slopes on top all start at the same height.
- Slope Brick 45 2 x 1 Double 2×
-
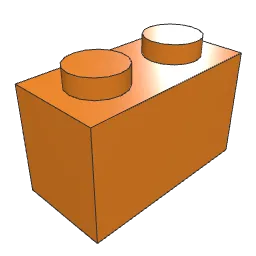 Brick 1 x 2 2×
- Brick 1 x 1 15×
- Slope Brick 45 2 x 1 8×
-
-
Step 13 · 15 pieces
- Slope Brick 45 2 x 1 Double 4×
- Brick 1 x 1 9×
- Slope Brick 45 2 x 1 2×
-
-
Step 14 · 5 pieces
Tip Press the 2 x 4 plate crosswise onto the tail tip so it sticks out on both sides, then put the four tan cones on its outer studs.
-
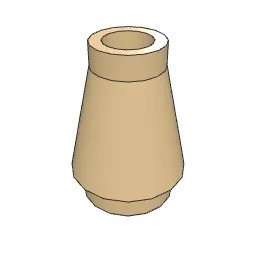 Cone 1 x 1 4×
- Plate 2 x 4 1×
-
-
Step 15 · 10 pieces
-
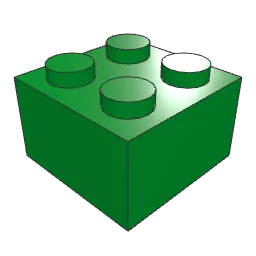 Brick 2 x 2 1×
-
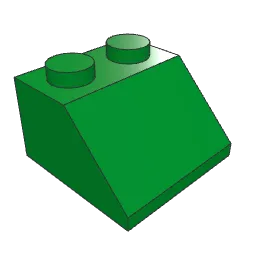 Slope Brick 45 2 x 2 6×
-
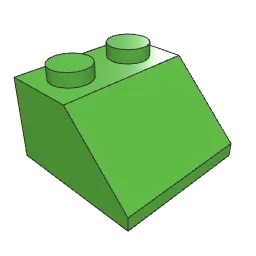 Slope Brick 45 2 x 2 2×
-
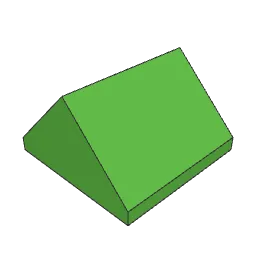 Slope Brick 45 2 x 2 Double 1×
-
About this build
Two rows of tall plates down the back and a spiked tail are what make a stegosaurus easy to pick out, so this build spends most of its color on those. The plant-eater lived in the Late Jurassic, and its fossils come mainly from western North America. Its hind legs were longer than its front legs, which tipped the hips up into the highest point of the back while the small head stayed close to the ground.
The model keeps that profile. The body is dark green bricks on a 32 x 16 dusty base, built up layer by layer so it arches from a low neck over tall hips and back down along the tail. Slopes facing front and back round off the sides, and the hind legs stand one brick taller than the front pair.
The plates are orange with red ridge tips, set in two staggered rows. Most are columns of orange bricks capped with slopes, so the biggest pair over the hips rises well above the body while the plates on the neck and tail stay small. Four tan cones at the tail tip stand in for the spikes, and a fern and a grey boulder fill in the scene beside the animal.
At a glance
- 169 parts in 15 steps
- About 45–60 minutes for most builders
The body layers (steps 4–9) are mostly long bricks, with each layer crossing the joints of the one below. Step 4 is the one to watch: the neck bricks reach out over empty space until step 5 ties them in. The head in step 10 hangs underneath the neck and is held from above. For a different look, swap the orange plates for dark red or the green body for sand green.
Parts list
How to read these instructionsEvery piece is a standard LEGO® element, listed with its LDraw part number and color.
| Part | Name / ID | Color | Qty |
|---|---|---|---|
| Brick 2 x 23003 | Green | 1 |
| Plate 2 x 43020 | Green | 2 |
| Plate 2 x 23022 | Green | 3 |
| Slope Brick 45 2 x 23039 | Green | 6 |
| Slope Brick 45 2 x 1 Double3044b | Red | 10 |
| Plate 2 x 43020 | Bright Green | 1 |
| Plate 1 x 23023b | Bright Green | 3 |
| Slope Brick 45 2 x 23039 | Bright Green | 2 |
| Slope Brick 45 2 x 2 Double3043 | Bright Green | 1 |
| Plate 1 x 13024 | Yellow | 2 |
| Cone 1 x 14589 | Tan | 4 |
| Brick 1 x 23004 | Orange | 2 |
| Brick 1 x 13005 | Orange | 30 |
| Slope Brick 45 2 x 13040b | Orange | 14 |
| Baseplate 16 x 163867 | Dark Tan | 2 |
| Slope Brick Curved 2 x 2 x 0.66715068 | Light Bluish Grey | 2 |
| Plate 1 x 1 Round6141 | Light Bluish Grey | 1 |
| Brick 2 x 43001 | Dark Bluish Grey | 1 |
| Brick 2 x 23003 | Dark Bluish Grey | 1 |
| Slope Brick 45 2 x 43037 | Dark Bluish Grey | 1 |
| Slope Brick 45 2 x 23039 | Dark Bluish Grey | 1 |
| Plate 1 x 1 Round6141 | Dark Bluish Grey | 1 |
| Brick 2 x 62456 | Dark Green | 22 |
| Brick 2 x 43001 | Dark Green | 1 |
| Brick 2 x 23003 | Dark Green | 13 |
| Brick 1 x 23004 | Dark Green | 1 |
| Brick 1 x 83008 | Dark Green | 4 |
| Brick 1 x 63009 | Dark Green | 2 |
| Brick 1 x 43010 | Dark Green | 1 |
| Plate 2 x 43020 | Dark Green | 2 |
| Plate 2 x 33021 | Dark Green | 1 |
| Plate 2 x 23022 | Dark Green | 1 |
| Plate 1 x 23023b | Dark Green | 1 |
| Slope Brick 45 2 x 43037 | Dark Green | 8 |
| Slope Brick 45 2 x 33038 | Dark Green | 4 |
| Slope Brick 45 2 x 23039 | Dark Green | 13 |
| Brick 1 x 33622 | Dark Green | 4 |
| Total pieces | 169 | ||
More builds like this
Find more in Dinosaurs