Nutcracker: Step-by-step building instructions
A tall Christmas nutcracker soldier with a red coat and gold braid, gold belt, white beard and trousers, black boots, a tall black hat with a gold band, and a sword at his side on a round base.
110 parts 15 steps Beginner
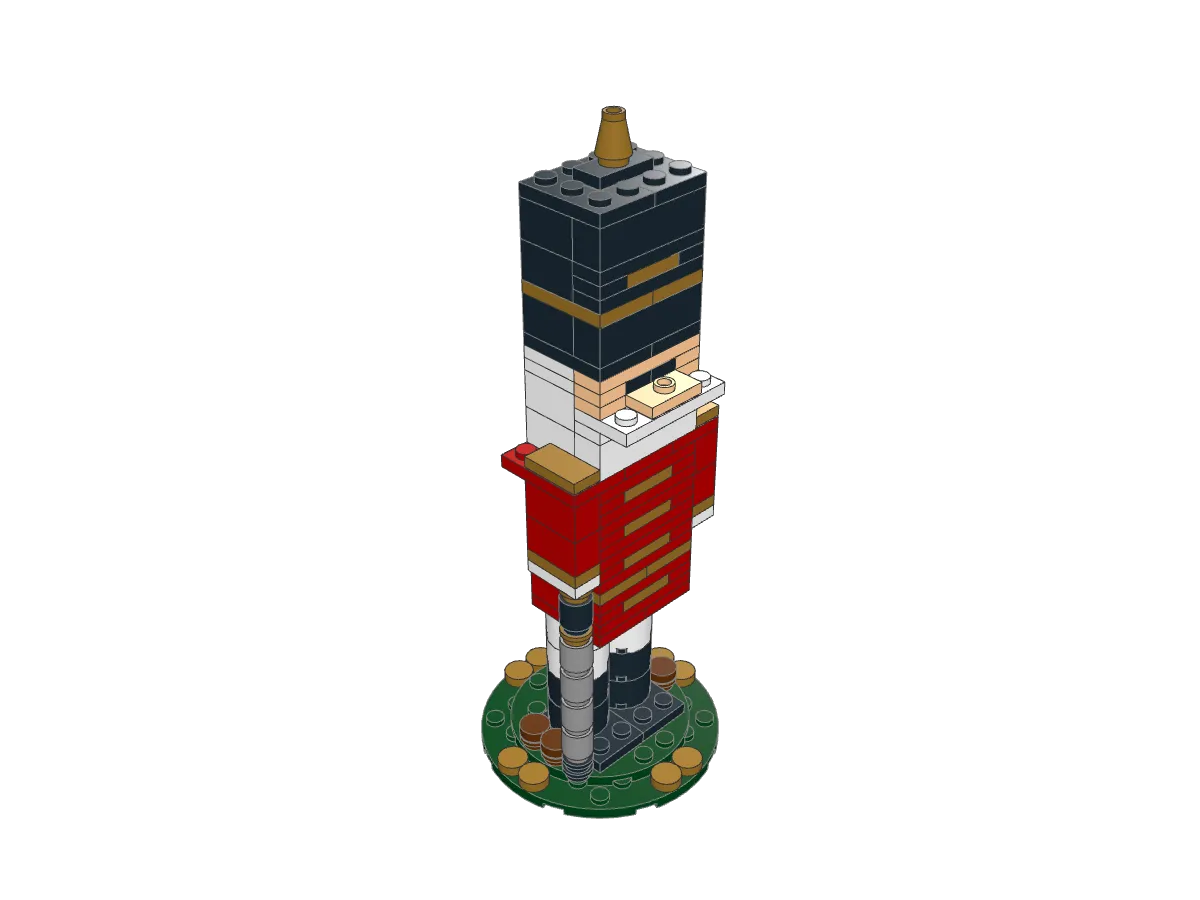
Loading 3D model Check your connection and try again.
Drag to rotate. Pinch or scroll to zoom.
Build steps
Finished model
Drag to look around, then build it in 15 steps.
Step 1 of 15
-
Step 1 · 10 pieces
-
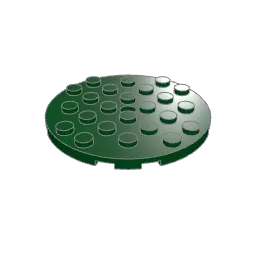 Plate 6 x 6 Round with Hole and Snapstud 1×
-
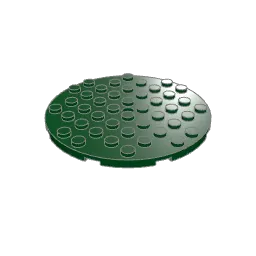 Plate 8 x 8 Round with Hole and Snapstud 1×
-
 Tile 1 x 1 Round with Groove 8×
-
-
Step 2 · 6 pieces
Tip The black 2 × 3 toe plates point one stud forward. Turn them so the long side runs front to back before adding the round boot bricks.
-
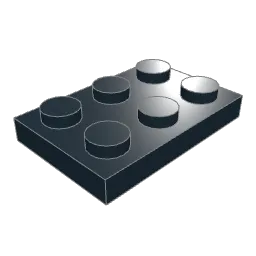 Plate 2 x 3 2×
-
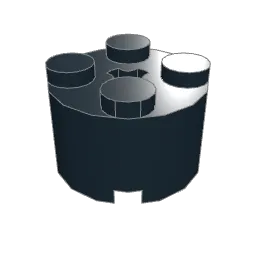 Brick 2 x 2 Round without Reinforcement 4×
-
-
Step 3 · 10 pieces
-
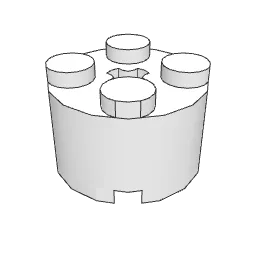 Brick 2 x 2 Round without Reinforcement 4×
-
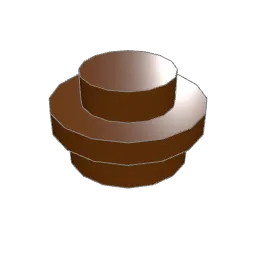 Plate 1 x 1 Round 3×
-
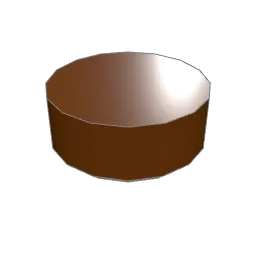 Tile 1 x 1 Round with Groove 3×
-
-
Step 4 · 8 pieces
Tip Build the front row as three plates: a 1 × 4, then 1 × 1, gold 1 × 2, 1 × 1, then another 1 × 4. It should end level with the 2 × 4 brick.
-
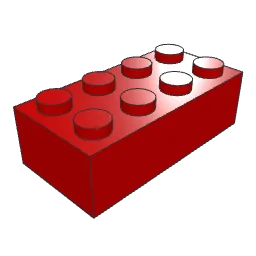 Brick 2 x 4 1×
-
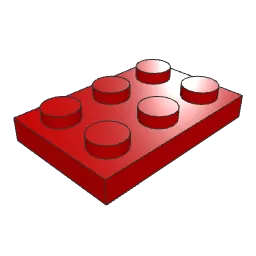 Plate 2 x 3 2×
-
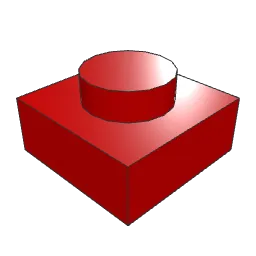 Plate 1 x 1 2×
-
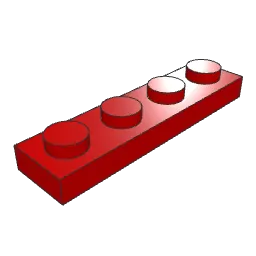 Plate 1 x 4 2×
-
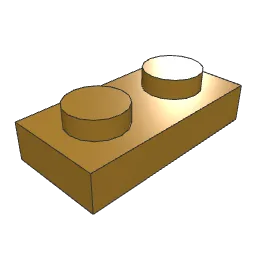 Plate 1 x 2 1×
-
-
Step 5 · 2 pieces
-
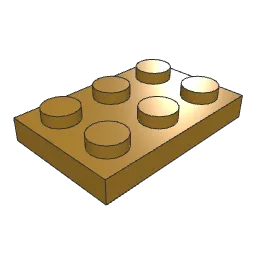 Plate 2 x 3 2×
-
-
Step 6 · 9 pieces
Tip Stack the sword on the front-left corner of the base, next to the boot. The top gold round plate must sit exactly where the left hand will come down.
-
 Brick 1 x 1 Round with Hollow Stud 1×
-
 Plate 1 x 1 Round 2×
-
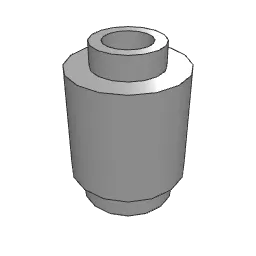 Brick 1 x 1 Round with Hollow Stud 4×
-
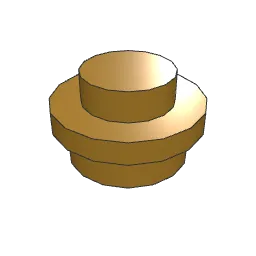 Plate 1 x 1 Round 2×
-
-
Step 7 · 12 pieces
- Brick 2 x 4 2×
- Plate 1 x 1 4×
- Plate 1 x 4 4×
- Plate 1 x 2 2×
-
-
Step 8 · 6 pieces
- Brick 2 x 4 1×
- Plate 1 x 1 2×
- Plate 1 x 4 2×
- Plate 1 x 2 1×
-
-
Step 9 · 5 pieces
- Plate 2 x 3 3×
-
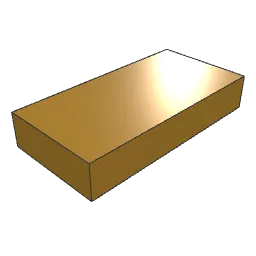 Tile 1 x 2 with Groove 2×
-
-
Step 10 · 8 pieces
Tip Each arm hangs from the shoulder plate. Attach the red 1 × 2 bricks from below, then the gold cuff and the white hand plate.
-
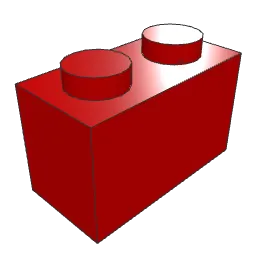 Brick 1 x 2 4×
-
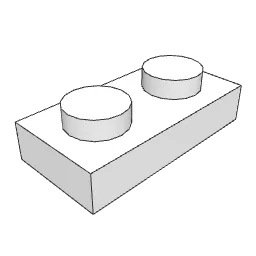 Plate 1 x 2 2×
- Plate 1 x 2 2×
-
-
Step 11 · 6 pieces
Tip The white 2 × 4 mustache plate sticks one stud out in front of the face. The light nougat nose in the next step sits on that ledge.
-
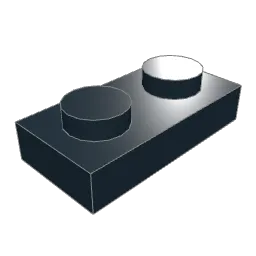 Plate 1 x 2 1×
-
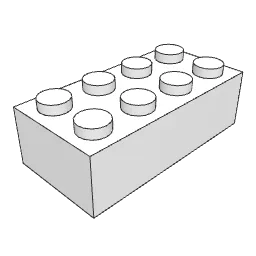 Brick 2 x 4 1×
-
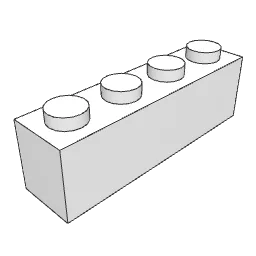 Brick 1 x 4 1×
-
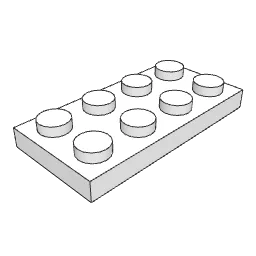 Plate 2 x 4 1×
-
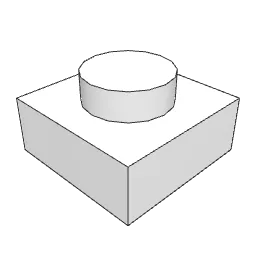 Plate 1 x 1 2×
-
-
Step 12 · 10 pieces
-
 Plate 1 x 1 2×
- Brick 2 x 4 1×
- Plate 2 x 4 2×
-
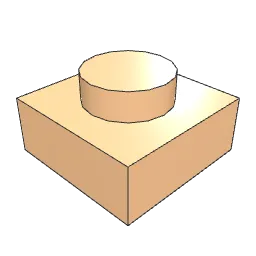 Plate 1 x 1 2×
-
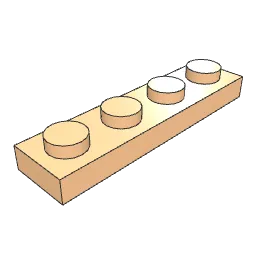 Plate 1 x 4 2×
-
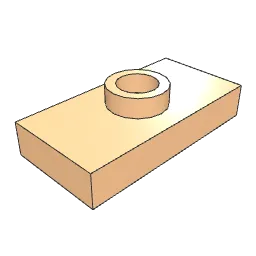 Plate 1 x 2 with Groove with 1 Centre Stud 1×
-
-
Step 13 · 4 pieces
-
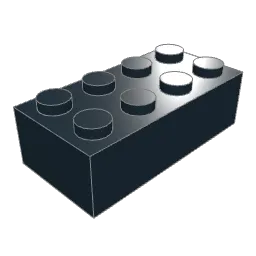 Brick 2 x 4 1×
-
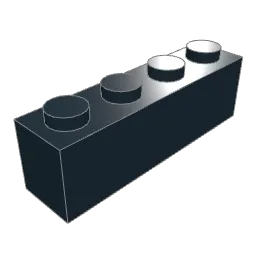 Brick 1 x 4 1×
- Plate 2 x 3 2×
-
-
Step 14 · 8 pieces
- Brick 2 x 4 1×
- Plate 1 x 1 2×
-
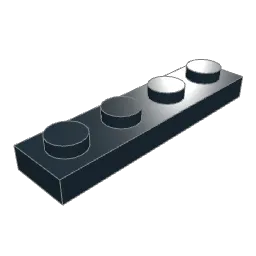 Plate 1 x 4 2×
- Plate 2 x 3 2×
- Plate 1 x 2 1×
-
-
Step 15 · 6 pieces
Tip Centre the 1 × 2 jumper plate on the hat top so the gold plume cone sits in the middle.
- Brick 2 x 4 1×
- Brick 1 x 4 1×
- Plate 2 x 3 2×
-
 Plate 1 x 2 with Groove with 1 Centre Stud 1×
-
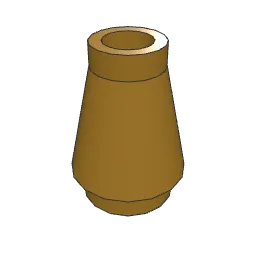 Cone 1 x 1 1×
-
About this build
Carved wooden nutcrackers dressed as soldiers come from the Ore Mountains of Germany, and they have become a fixture of Christmas windows and mantelpieces. Their look is easy to recognise: a stiff, upright pose, a head far too big for the body, a white beard framing a lever-operated jaw, and a tall hat that makes the figure taller still.
This brick version keeps that caricature. The column is only four studs wide, yet head and hat take up almost half of its height. Red is the main color, with black for the boots and hat, white for the trousers, hair and beard, and pearl gold kept for small accents: the belt, the hat band, the epaulettes, the cuffs and a short gold bar in every course of the coat, like the braid on a hussar jacket.
At a glance
- 110 parts in 15 steps, on an 8-stud round base
- About 30–45 minutes for most builders
- No sideways building: everything stacks on studs
The braid is the fiddly part. Each coat course in steps 4, 7 and 8 is three thin plates in the front row, with the gold 1 × 2 plate in the middle layer. Count the layers before moving on, or the front row will end up shorter than the 2 × 4 brick behind it.
The arms in step 10 hang under the shoulder plates rather than standing on anything. On the left side the hand comes down onto the sword built in step 6, so check that the hilt lines up with the front stud of the hand.
The three walnuts at his feet are a nod to his job. For a different regiment, swap the red coat parts for dark blue and keep the gold.
Parts list
How to read these instructionsEvery piece is a standard LEGO® element, listed with its LDraw part number and color.
| Part | Name / ID | Color | Qty |
|---|---|---|---|
| Brick 2 x 43001 | Black | 3 |
| Brick 1 x 43010 | Black | 2 |
| Plate 2 x 33021 | Black | 6 |
| Plate 1 x 23023b | Black | 1 |
| Plate 1 x 13024 | Black | 4 |
| Brick 1 x 1 Round with Hollow Stud3062b | Black | 1 |
| Plate 1 x 43710 | Black | 2 |
| Plate 1 x 2 with Groove with 1 Centre Stud3794b | Black | 1 |
| Brick 2 x 2 Round without Reinforcement3941 | Black | 4 |
| Plate 1 x 1 Round6141 | Black | 2 |
| Brick 2 x 43001 | Red | 4 |
| Brick 1 x 23004 | Red | 4 |
| Plate 2 x 33021 | Red | 5 |
| Plate 1 x 13024 | Red | 8 |
| Plate 1 x 43710 | Red | 8 |
| Brick 2 x 43001 | White | 2 |
| Brick 1 x 43010 | White | 1 |
| Plate 2 x 43020 | White | 3 |
| Plate 1 x 23023b | White | 2 |
| Plate 1 x 13024 | White | 2 |
| Brick 2 x 2 Round without Reinforcement3941 | White | 4 |
| Plate 1 x 1 Round6141 | Reddish Brown | 3 |
| Tile 1 x 1 Round with Groove98138 | Reddish Brown | 3 |
| Brick 1 x 1 Round with Hollow Stud3062b | Light Bluish Grey | 4 |
| Plate 1 x 13024 | Light Nougat | 2 |
| Plate 1 x 43710 | Light Nougat | 2 |
| Plate 1 x 2 with Groove with 1 Centre Stud3794b | Light Nougat | 1 |
| Plate 6 x 6 Round with Hole and Snapstud11213 | Dark Green | 1 |
| Plate 8 x 8 Round with Hole and Snapstud74611 | Dark Green | 1 |
| Plate 2 x 33021 | Pearl Gold | 4 |
| Plate 1 x 23023b | Pearl Gold | 7 |
| Tile 1 x 2 with Groove3069b | Pearl Gold | 2 |
| Cone 1 x 14589 | Pearl Gold | 1 |
| Plate 1 x 1 Round6141 | Pearl Gold | 2 |
| Tile 1 x 1 Round with Groove98138 | Pearl Gold | 8 |
| Total pieces | 110 | ||
More builds like this
-
 Street & Props
Santa's Sleigh
-
 Street & Props
Christmas Market
-
 Street & Props
Fruit Stall
-
 Nature & Outdoor
Christmas Wreath
Find more in ChristmasEasy for beginners