Santa's Sleigh: Step-by-step building instructions
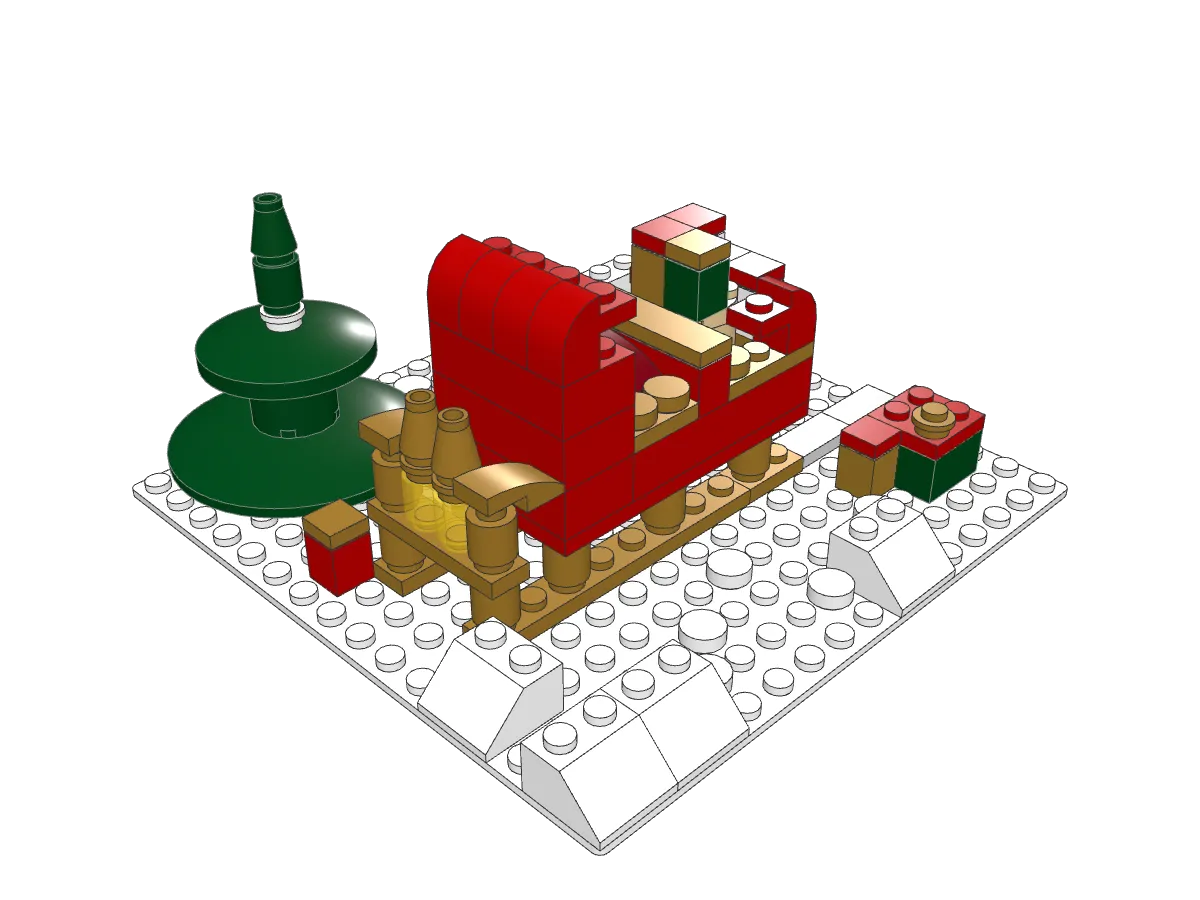
Santa's red sleigh on curved golden runners, with a high curled front, a padded seat, lanterns and a gift sack overflowing with presents, parked on a small patch of snow beside a tiny pine tree.
106 parts 15 steps Beginner
Loading 3D model Check your connection and try again.
Drag to rotate. Pinch or scroll to zoom.
Build steps
Finished model
Drag to look around, then build it in 15 steps.
Step 1 of 15
-
Step 1 · 8 pieces
-
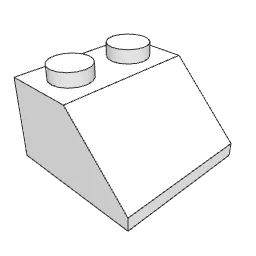 Slope Brick 45 2 x 2 7×
-
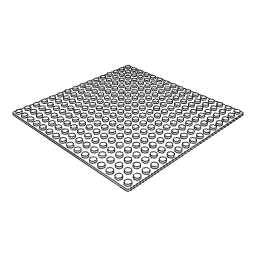 Baseplate 16 x 16 1×
-
-
Step 2 · 13 pieces
-
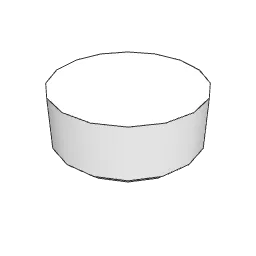 Tile 1 x 1 Round with Groove 9×
-
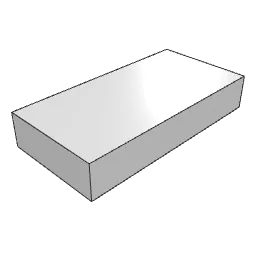 Tile 1 x 2 with Groove 4×
-
-
Step 3 · 4 pieces
Tip Both runners are a 1 x 8 plate plus a 1 x 2 plate in gold. The long plate goes toward the front, so the runner sticks out two studs past where the body will be.
-
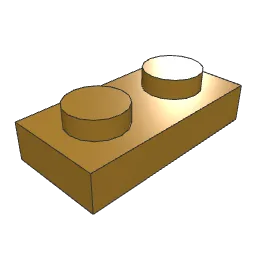 Plate 1 x 2 2×
-
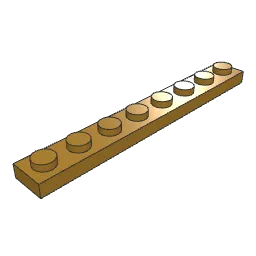 Plate 1 x 8 2×
-
-
Step 4 · 3 pieces
-
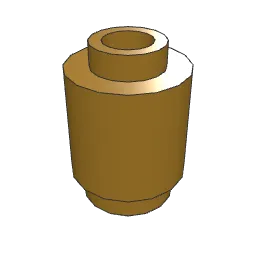 Brick 1 x 1 Round with Hollow Stud 2×
-
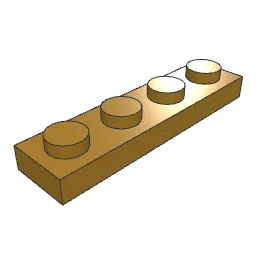 Plate 1 x 4 1×
-
-
Step 5 · 10 pieces
Tip Turn the gold curved slopes so the high end sits over the front posts and the low end points back toward the sleigh. Each lantern is a trans-yellow round brick, a round plate and a cone.
-
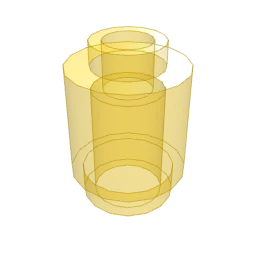 Brick 1 x 1 Round with Hollow Stud 2×
-
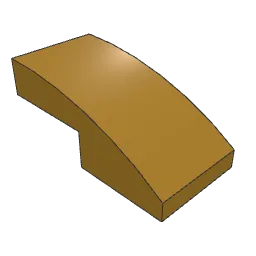 Slope Brick Curved 2 x 1 2×
- Brick 1 x 1 Round with Hollow Stud 2×
-
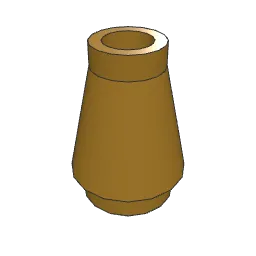 Cone 1 x 1 2×
-
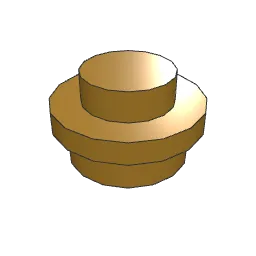 Plate 1 x 1 Round 2×
-
-
Step 6 · 7 pieces
-
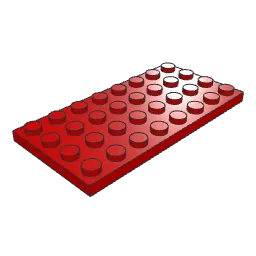 Plate 4 x 8 1×
- Brick 1 x 1 Round with Hollow Stud 6×
-
-
Step 7 · 7 pieces
Tip The front block is a 2 x 4 brick turned across the sleigh. The tan round brick is the bottom of the gift sack; it goes between the seat back and the rear wall.
-
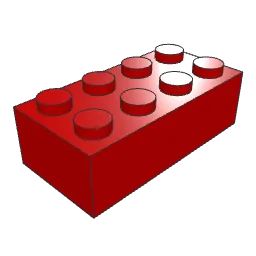 Brick 2 x 4 1×
-
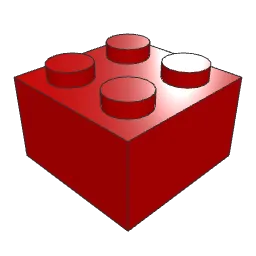 Brick 2 x 2 1×
-
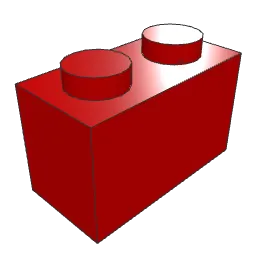 Brick 1 x 2 2×
-
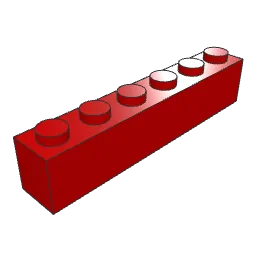 Brick 1 x 6 2×
-
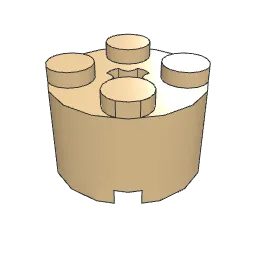 Brick 2 x 2 Round without Reinforcement 1×
-
-
Step 8 · 11 pieces
- Plate 1 x 2 3×
-
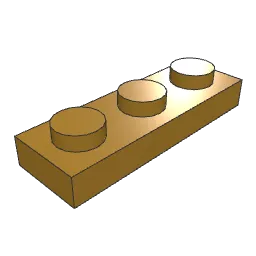 Plate 1 x 3 2×
-
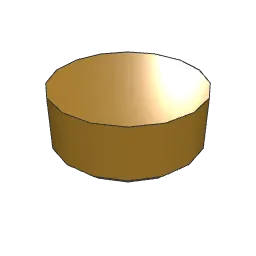 Tile 1 x 1 Round with Groove 6×
-
-
Step 9 · 4 pieces
Tip Put the dark red 2 x 2 plate on the seat base first, then the curved slope on top, with the curve rising toward the seat back.
-
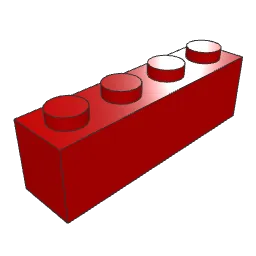 Brick 1 x 4 1×
-
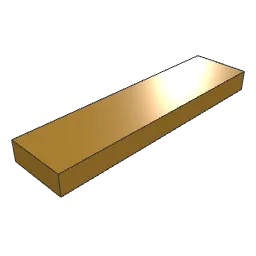 Tile 1 x 4 with Groove 1×
-
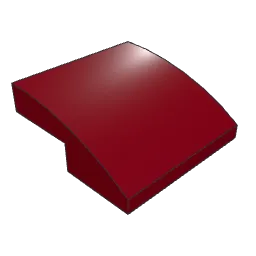 Slope Brick Curved 2 x 2 x 0.667 1×
-
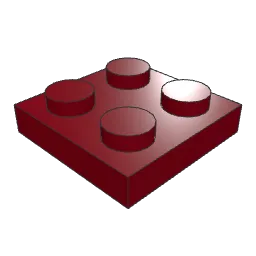 Plate 2 x 2 1×
-
-
Step 10 · 2 pieces
- Brick 2 x 4 2×
-
-
Step 11 · 4 pieces
Tip All four curved-top bricks face the same way: the stud end at the back, the rounded hump over the front edge of the sleigh.
-
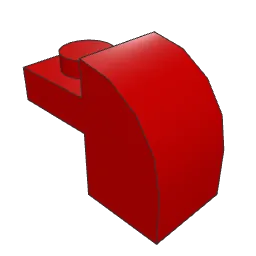 Brick 2 x 1 x 1.333 with Curved Top 4×
-
-
Step 12 · 4 pieces
- Brick 2 x 1 x 1.333 with Curved Top 2×
- Brick 2 x 2 Round without Reinforcement 1×
-
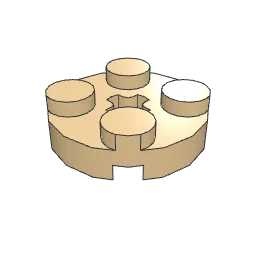 Plate 2 x 2 Round with Axlehole 1×
-
-
Step 13 · 10 pieces
-
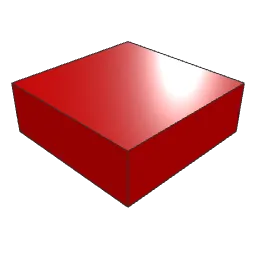 Tile 1 x 1 with Groove 3×
-
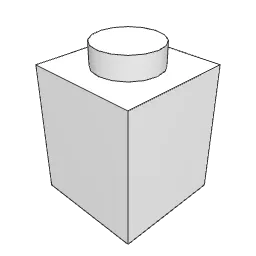 Brick 1 x 1 2×
-
 Brick 1 x 1 2×
-
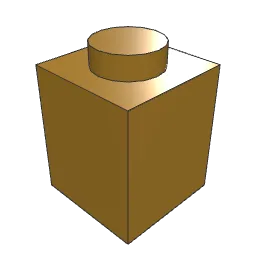 Brick 1 x 1 1×
-
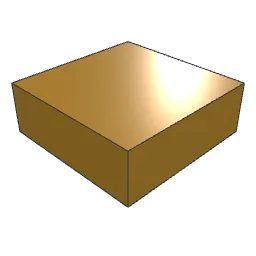 Tile 1 x 1 with Groove 2×
-
-
Step 14 · 11 pieces
-
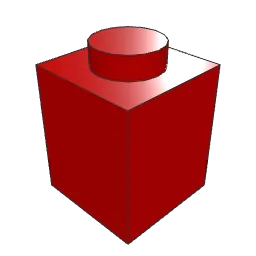 Brick 1 x 1 1×
-
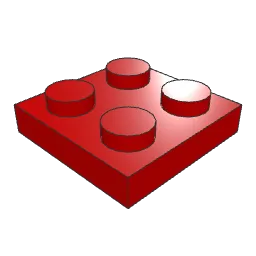 Plate 2 x 2 1×
-
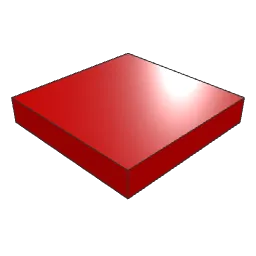 Tile 2 x 2 with Groove 1×
- Tile 1 x 1 with Groove 2×
-
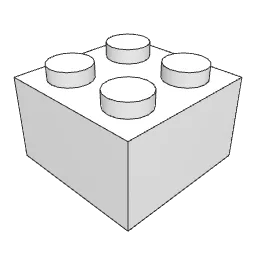 Brick 2 x 2 1×
- Brick 1 x 1 1×
-
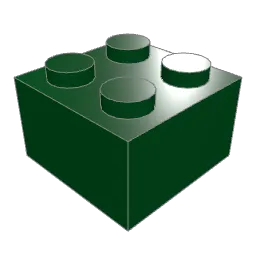 Brick 2 x 2 1×
- Brick 1 x 1 1×
- Tile 1 x 1 with Groove 1×
- Plate 1 x 1 Round 1×
-
-
Step 15 · 8 pieces
Tip Each tier of the pine is centered on the trunk. The small white round plate under the top branches catches snow, so do not leave it out.
-
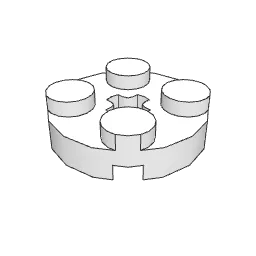 Plate 2 x 2 Round with Axlehole 1×
-
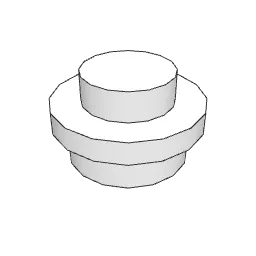 Plate 1 x 1 Round 1×
-
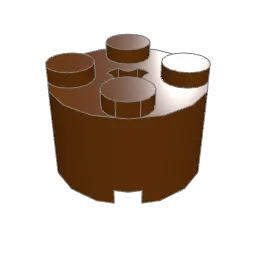 Brick 2 x 2 Round without Reinforcement 1×
-
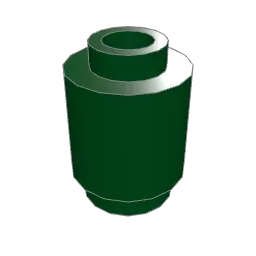 Brick 1 x 1 Round with Hollow Stud 1×
-
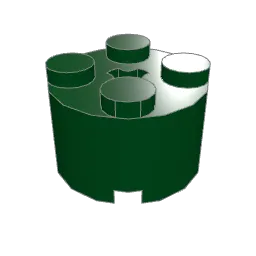 Brick 2 x 2 Round without Reinforcement 1×
-
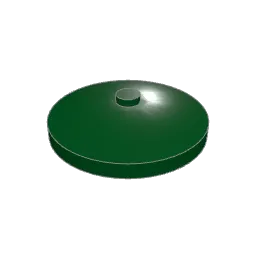 Dish 4 x 4 Inverted 1×
-
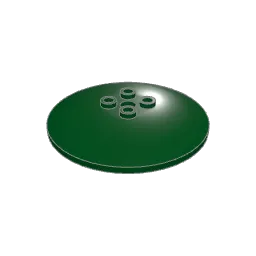 Dish 6 x 6 Inverted with Hollow Studs 1×
-
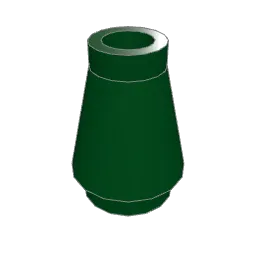 Cone 1 x 1 1×
-
About this build
In stories and on greeting cards, Santa travels in a sleigh: a light open carriage on long runners, built to glide over snow rather than roll. Its shape is easy to spot, with a low body for the driver and cargo and a front that sweeps up high and rolls over at the top.
That outline is what this model chases. The body is bright red and stands on golden runners, lifted off the snow by six round gold struts. At the front, three stacked 2 x 4 bricks rise well above the side walls, and four curved-top bricks roll the top edge forward. The runners curl up too: a gold post at each front corner carries a curved slope that hooks back toward the body, and a cross bar between the posts holds two small trans-yellow lanterns.
Inside there is a dark red padded seat with a gold-capped backrest. Behind it a tan gift sack, two round bricks and a round plate, sits under a pile of 1 x 1 presents. Each one has a tile on top that stands in for the ribbon. More boxes wait on the snow and at the rear wall.
The scene sits on a white 16 x 16 plate with snow drifts, a few lumps of snow and grey tile tracks where the runners slid in. A tiny tiered pine stands behind the sleigh.
At a glance
- 106 parts in 15 steps
- About 30–40 minutes for most builders
- Footprint: 16 x 16 studs; the sleigh is 10 x 4
Most steps are quick. Step 5 is the fiddly one: the runner curls and lanterns are small round parts on narrow posts. In step 11, check that the curved bricks all hump toward the front.
Parts list
How to read these instructionsEvery piece is a standard LEGO® element, listed with its LDraw part number and color.
| Part | Name / ID | Color | Qty |
|---|---|---|---|
| Brick 2 x 43001 | Red | 3 |
| Brick 2 x 23003 | Red | 1 |
| Brick 1 x 23004 | Red | 2 |
| Brick 1 x 13005 | Red | 1 |
| Brick 1 x 63009 | Red | 2 |
| Brick 1 x 43010 | Red | 1 |
| Plate 2 x 23022 | Red | 1 |
| Plate 4 x 83035 | Red | 1 |
| Tile 2 x 2 with Groove3068b | Red | 1 |
| Tile 1 x 1 with Groove3070b | Red | 5 |
| Brick 2 x 1 x 1.333 with Curved Top6091 | Red | 6 |
| Brick 2 x 23003 | White | 1 |
| Brick 1 x 13005 | White | 3 |
| Slope Brick 45 2 x 23039 | White | 7 |
| Baseplate 16 x 163867 | White | 1 |
| Plate 2 x 2 Round with Axlehole4032a | White | 1 |
| Plate 1 x 1 Round6141 | White | 1 |
| Tile 1 x 1 Round with Groove98138 | White | 9 |
| Brick 2 x 2 Round without Reinforcement3941 | Tan | 2 |
| Plate 2 x 2 Round with Axlehole4032a | Tan | 1 |
| Brick 1 x 1 Round with Hollow Stud3062b | Trans Yellow | 2 |
| Brick 2 x 2 Round without Reinforcement3941 | Reddish Brown | 1 |
| Tile 1 x 2 with Groove3069b | Very Light Bluish Grey | 4 |
| Brick 2 x 23003 | Dark Green | 1 |
| Brick 1 x 13005 | Dark Green | 2 |
| Brick 1 x 1 Round with Hollow Stud3062b | Dark Green | 1 |
| Brick 2 x 2 Round without Reinforcement3941 | Dark Green | 1 |
| Dish 4 x 4 Inverted3960 | Dark Green | 1 |
| Dish 6 x 6 Inverted with Hollow Studs44375a | Dark Green | 1 |
| Cone 1 x 14589 | Dark Green | 1 |
| Slope Brick Curved 2 x 111477 | Pearl Gold | 2 |
| Tile 1 x 4 with Groove2431 | Pearl Gold | 1 |
| Brick 1 x 13005 | Pearl Gold | 2 |
| Plate 1 x 23023b | Pearl Gold | 5 |
| Brick 1 x 1 Round with Hollow Stud3062b | Pearl Gold | 10 |
| Tile 1 x 1 with Groove3070b | Pearl Gold | 3 |
| Plate 1 x 83460 | Pearl Gold | 2 |
| Plate 1 x 33623 | Pearl Gold | 2 |
| Plate 1 x 43710 | Pearl Gold | 1 |
| Cone 1 x 14589 | Pearl Gold | 2 |
| Plate 1 x 1 Round6141 | Pearl Gold | 3 |
| Tile 1 x 1 Round with Groove98138 | Pearl Gold | 6 |
| Slope Brick Curved 2 x 2 x 0.66715068 | Dark Red | 1 |
| Plate 2 x 23022 | Dark Red | 1 |
| Total pieces | 106 | ||
More builds like this
-
 Street & Props
Nutcracker
-
 Nature & Outdoor
Christmas Tree
-
 Street & Props
Christmas Market
-
 Buildings
Santa's Workshop
Find more in ChristmasEasy for beginners