Fruit Stall: Step-by-step building instructions
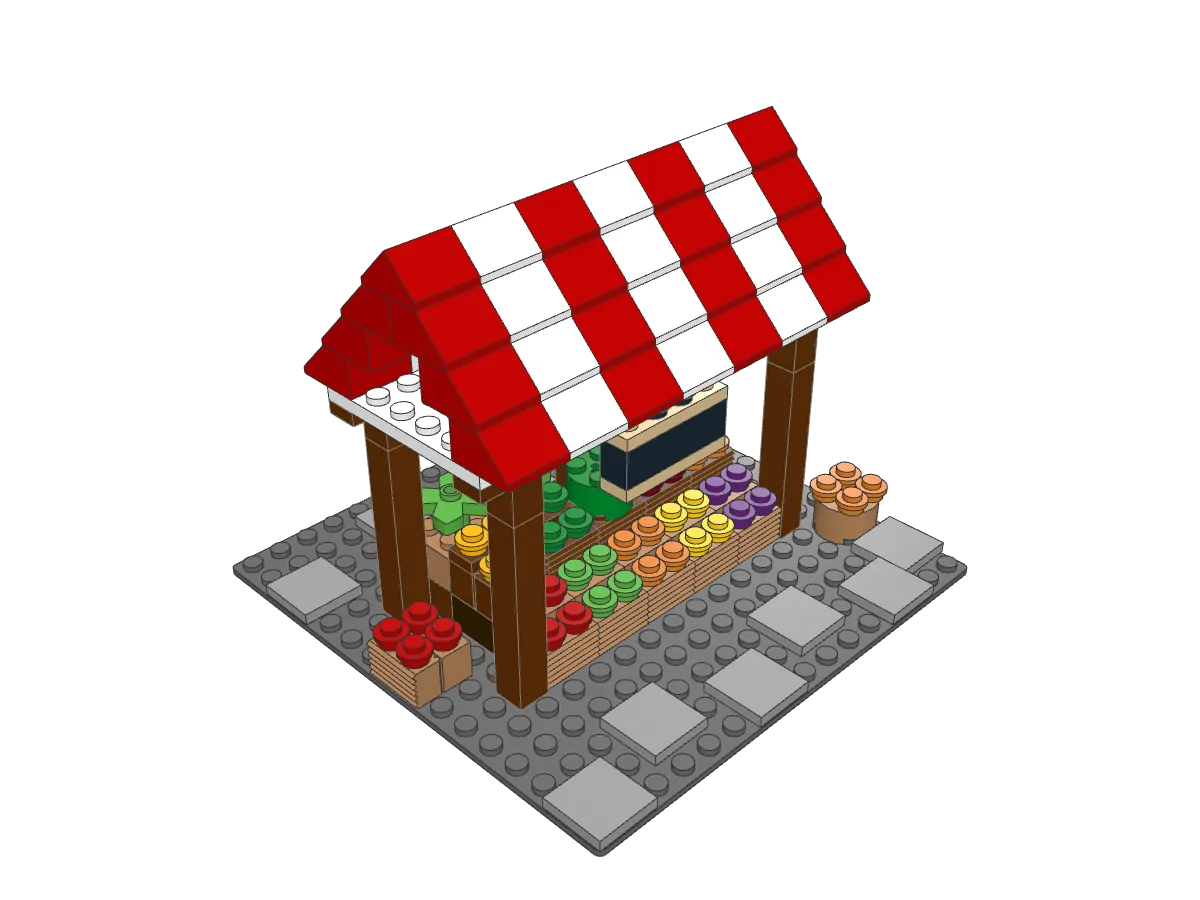
A street-market fruit stall with a red and white striped canopy on timber posts, two tiers of tilted crates full of colorful fruit, a hanging price board and a seller's counter with scales.
174 parts 17 steps Beginner
Loading 3D model Check your connection and try again.
Drag to rotate. Pinch or scroll to zoom.
Build steps
Finished model
Drag to look around, then build it in 17 steps.
Step 1 of 17
-
Step 1 · 12 pieces
-
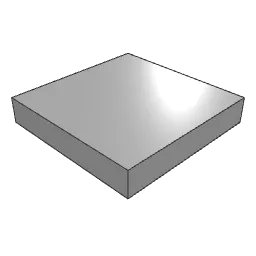 Tile 2 x 2 with Groove 11×
-
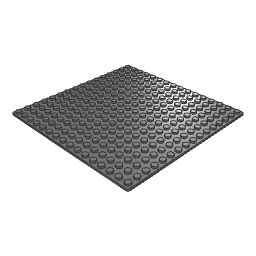 Baseplate 16 x 16 1×
-
-
Step 2 · 4 pieces
-
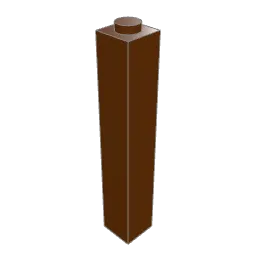 Brick 1 x 1 x 5 with Solid Stud 4×
-
-
Step 3 · 10 pieces
-
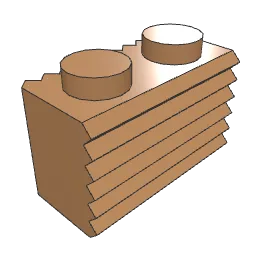 Brick 1 x 2 with Grille 5×
-
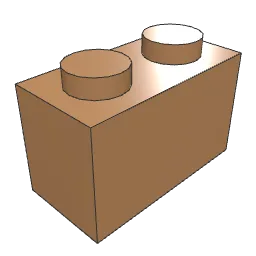 Brick 1 x 2 5×
-
-
Step 4 · 25 pieces
Tip Put the 1 x 2 plate on the back half of each crate before adding its fruit. That plate is what tilts the display toward the shopper.
-
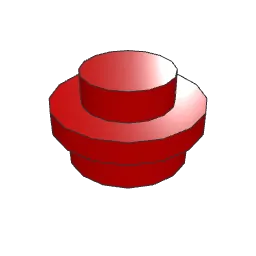 Plate 1 x 1 Round 4×
-
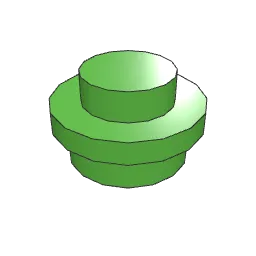 Plate 1 x 1 Round 4×
-
 Plate 1 x 1 Round 4×
-
 Plate 1 x 1 Round 4×
-
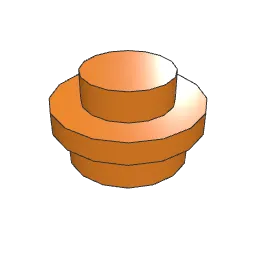 Plate 1 x 1 Round 4×
-
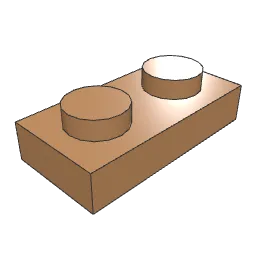 Plate 1 x 2 5×
-
-
Step 5 · 5 pieces
Tip Each dark brown riser sits directly behind a front crate. Line their edges up so the back row reads as one raised tier.
-
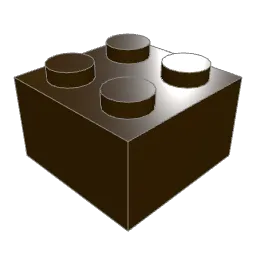 Brick 2 x 2 5×
-
-
Step 6 · 10 pieces
-
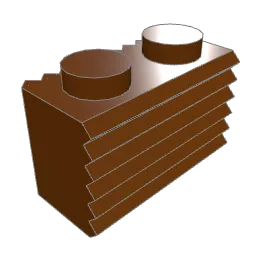 Brick 1 x 2 with Grille 5×
-
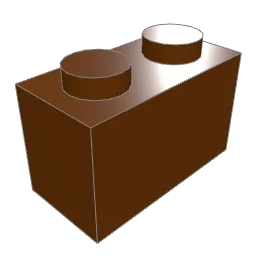 Brick 1 x 2 5×
-
-
Step 7 · 21 pieces
-
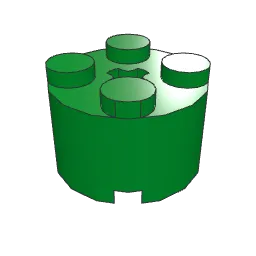 Brick 2 x 2 Round without Reinforcement 1×
-
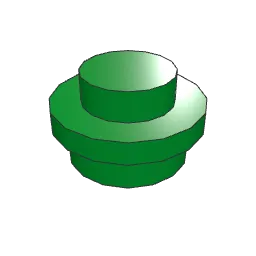 Plate 1 x 1 Round 4×
- Plate 1 x 1 Round 4×
-
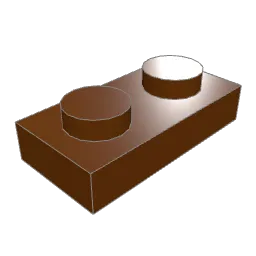 Plate 1 x 2 4×
-
 Plate 1 x 1 Round 4×
-
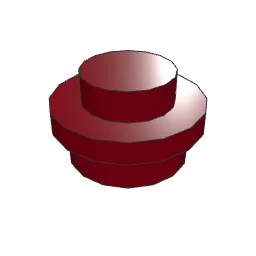 Plate 1 x 1 Round 4×
-
-
Step 8 · 7 pieces
-
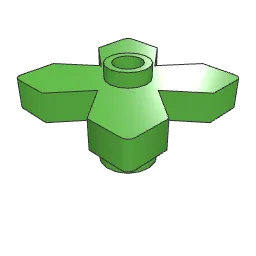 Plant Flower 2 x 2 Leaves 2×
-
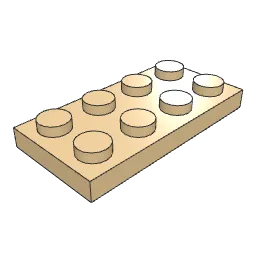 Plate 2 x 4 1×
-
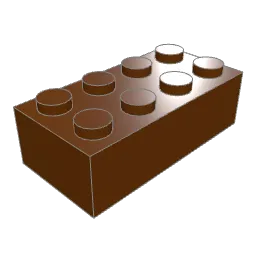 Brick 2 x 4 3×
-
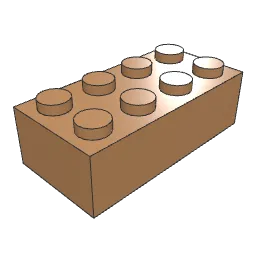 Brick 2 x 4 1×
-
-
Step 9 · 5 pieces
- Plate 1 x 1 Round 2×
- Plate 1 x 1 Round 1×
-
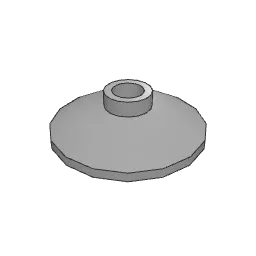 Dish 2 x 2 Inverted 1×
-
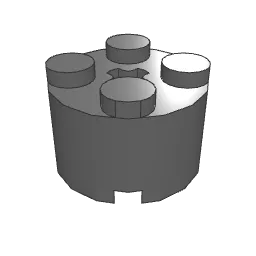 Brick 2 x 2 Round without Reinforcement 1×
-
-
Step 10 · 8 pieces
-
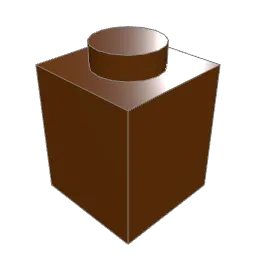 Brick 1 x 1 4×
-
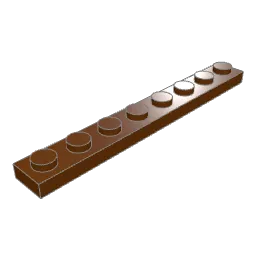 Plate 1 x 8 2×
-
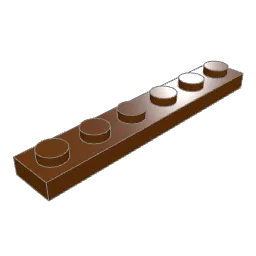 Plate 1 x 6 2×
-
-
Step 11 · 5 pieces
Tip Attach the two black round plates under the front beam first, then hang the tan plate, black brick and second tan plate below them.
-
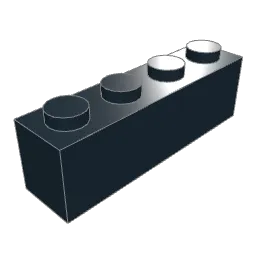 Brick 1 x 4 1×
-
 Plate 1 x 1 Round 2×
-
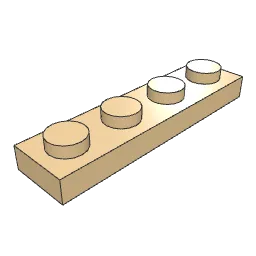 Plate 1 x 4 2×
-
-
Step 12 · 2 pieces
-
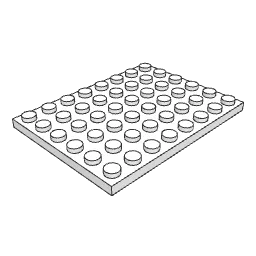 Plate 6 x 8 1×
-
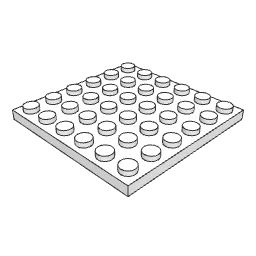 Plate 6 x 6 1×
-
-
Step 13 · 14 pieces
Tip Start with red at both ends and alternate every two studs. Mirror each front slope with a back slope in the same color.
-
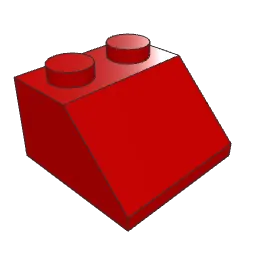 Slope Brick 45 2 x 2 8×
-
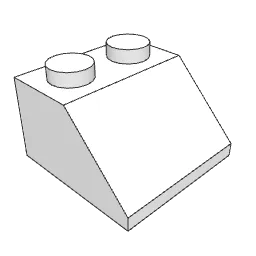 Slope Brick 45 2 x 2 6×
-
-
Step 14 · 14 pieces
- Slope Brick 45 2 x 2 8×
- Slope Brick 45 2 x 2 6×
-
-
Step 15 · 14 pieces
- Slope Brick 45 2 x 2 8×
- Slope Brick 45 2 x 2 6×
-
-
Step 16 · 7 pieces
Tip Match each ridge piece to the stripe below it, so every red or white band runs over the top without a break.
-
 Slope Brick 45 2 x 2 Double 4×
-
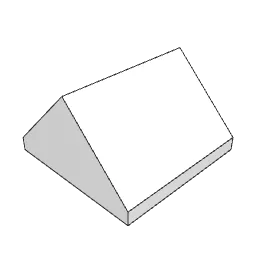 Slope Brick 45 2 x 2 Double 3×
-
-
Step 17 · 11 pieces
- Plate 1 x 1 Round 4×
- Plate 1 x 1 Round 4×
- Brick 1 x 2 with Grille 1×
- Brick 1 x 2 1×
-
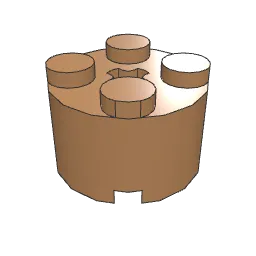 Brick 2 x 2 Round without Reinforcement 1×
-
About this build
Open-air markets across Europe fill their squares with stalls like this one: a light timber frame, a striped canvas roof against sun and rain, and crates of produce angled toward whoever walks past. The angle matters. A shopper should see every apple and lemon at a glance, so the fruit climbs from the front of the table to the back.
This version keeps that idea at brick scale. Ten crates sit in two rows. The front row stands on the paving, while the back row rides on dark brown risers one brick higher. Inside every crate the back line of fruit sits on an extra plate, so each box leans a little toward the street. Round 1 x 1 plates stand in for apples, pears, oranges, lemons, plums, peaches, limes and cherries, and one crate carries a whole green watermelon.
Above it all, a gable canopy of 2 x 2 slopes alternates red and white in two-stud stripes, overhanging the frame by one stud at the front and back. A black price board hangs from the front beam on two small round plates, and behind the crates the seller has a tan-topped counter with a grey scale and a stack of spare crates full of leafy greens.
At a glance
- 174 parts in 17 steps on a 16 x 16 baseplate
- Canopy stripes are built in three courses plus a ridge
- About 45-60 minutes for most builders
The trickiest moment is step 11: the price board hangs under the beam, so press it up into place rather than down. In steps 13 to 15, keep each color in the same column so the stripes run straight from eave to ridge. For a quieter look, swap the canopy colors for green and white.
Parts list
How to read these instructionsEvery piece is a standard LEGO® element, listed with its LDraw part number and color.
| Part | Name / ID | Color | Qty |
|---|---|---|---|
| Brick 1 x 43010 | Black | 1 |
| Plate 1 x 1 Round6141 | Black | 2 |
| Brick 2 x 2 Round without Reinforcement3941 | Green | 1 |
| Plate 1 x 1 Round6141 | Green | 4 |
| Slope Brick 45 2 x 23039 | Red | 24 |
| Slope Brick 45 2 x 2 Double3043 | Red | 4 |
| Plate 1 x 1 Round6141 | Red | 10 |
| Plant Flower 2 x 2 Leaves4727 | Bright Green | 2 |
| Plate 1 x 1 Round6141 | Bright Green | 4 |
| Plate 1 x 1 Round6141 | Yellow | 5 |
| Plate 6 x 83036 | White | 1 |
| Slope Brick 45 2 x 23039 | White | 18 |
| Slope Brick 45 2 x 2 Double3043 | White | 3 |
| Plate 6 x 63958 | White | 1 |
| Plate 2 x 43020 | Tan | 1 |
| Plate 1 x 43710 | Tan | 2 |
| Plate 1 x 1 Round6141 | Purple | 4 |
| Plate 1 x 1 Round6141 | Orange | 12 |
| Brick 1 x 1 x 5 with Solid Stud2453b | Reddish Brown | 4 |
| Brick 1 x 2 with Grille2877 | Reddish Brown | 5 |
| Brick 2 x 43001 | Reddish Brown | 3 |
| Brick 1 x 23004 | Reddish Brown | 5 |
| Brick 1 x 13005 | Reddish Brown | 4 |
| Plate 1 x 23023b | Reddish Brown | 4 |
| Plate 1 x 83460 | Reddish Brown | 2 |
| Plate 1 x 63666 | Reddish Brown | 2 |
| Tile 2 x 2 with Groove3068b | Light Bluish Grey | 11 |
| Dish 2 x 2 Inverted4740 | Light Bluish Grey | 1 |
| Baseplate 16 x 163867 | Dark Bluish Grey | 1 |
| Brick 2 x 2 Round without Reinforcement3941 | Dark Bluish Grey | 1 |
| Brick 1 x 2 with Grille2877 | Medium Nougat | 6 |
| Brick 2 x 43001 | Medium Nougat | 1 |
| Brick 1 x 23004 | Medium Nougat | 6 |
| Plate 1 x 23023b | Medium Nougat | 5 |
| Brick 2 x 2 Round without Reinforcement3941 | Medium Nougat | 1 |
| Plate 1 x 1 Round6141 | Bright Light Orange | 4 |
| Brick 2 x 23003 | Dark Brown | 5 |
| Plate 1 x 1 Round6141 | Dark Red | 4 |
| Total pieces | 174 | ||
More builds like this
-
 Street & Props
Nutcracker
-
 Street & Props
Lemonade Stand
-
 Street & Props
Christmas Market
-
 Street & Props
Treasure Chest
Find more in Easy for beginners