Campsite
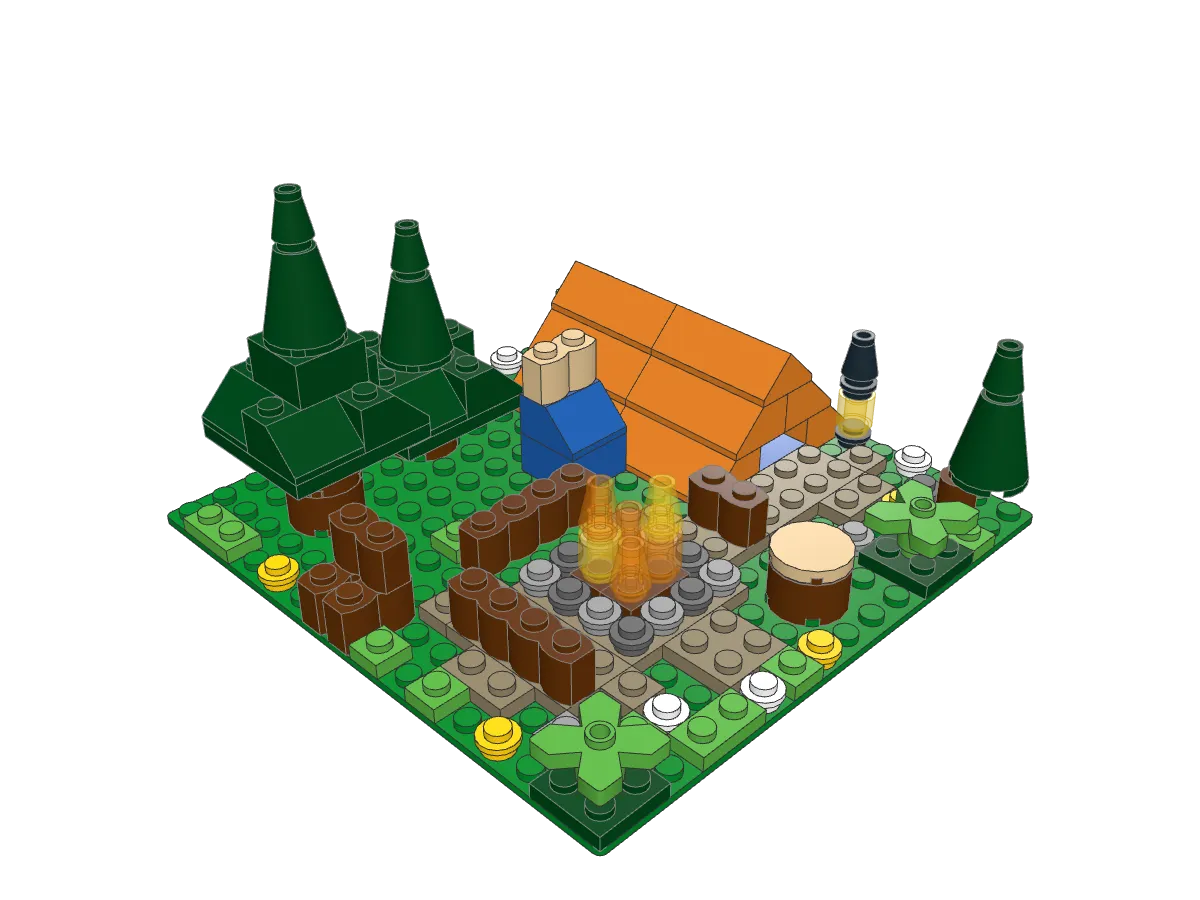
A forest campsite with an orange A-frame tent, a crackling campfire inside a ring of stones, log seats, a stump and firewood, a lantern, a backpack and tall pine trees around a dirt clearing.
104 parts 10 steps Beginner
Loading 3D model Check your connection and try again.
Drag to rotate. Pinch or scroll to zoom.
Build steps
Step 1 of 10
-
Step 1 · 12 pieces
-
 Baseplate 16 x 16 1×
 -
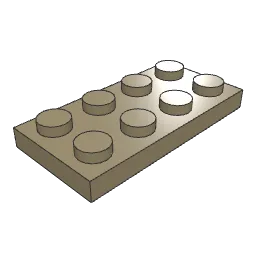 Plate 2 x 4 2×
 -
 Plate 2 x 2 2×
 -
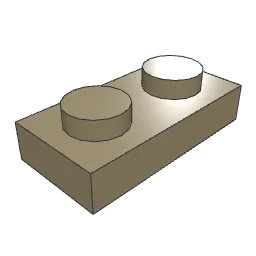 Plate 1 x 2 3×
 -
 Plate 1 x 1 3×
 -
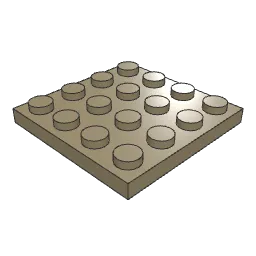 Plate 4 x 4 1×
-
-
Step 2 · 12 pieces
Tip Alternate light and dark gray round plates as you go around the ring. Two of the same shade side by side make a visible patch.
-
 Plate 1 x 1 Round 6×
 -
 Plate 1 x 1 Round 6×
-
-
Step 3 · 8 pieces
Tip Seat the brown 1 x 2 log plates in the center first, then stand the flame cones on them. The trans-yellow round brick goes under its cone so the fire has a brighter core.
-
 Brick 1 x 1 Round with Hollow Stud 1×
 -
 Cone 1 x 1 1×
 -
 Brick 1 x 1 Round with Hollow Stud 1×
 -
 Cone 1 x 1 3×
 -
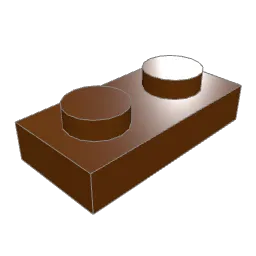 Plate 1 x 2 2×
-
-
Step 4 · 9 pieces
Tip Put the blue sleeping-bag tile down before any slopes. Once both courses of orange slopes are on, there is no room to reach inside.
-
 Tile 2 x 4 1×
 -
 Slope Brick 45 2 x 4 8×
-
-
Step 5 · 9 pieces
Tip The two double slopes cap the ridge where the tent sides meet. Press them down evenly along their length so the roofline stays straight.
-
 Cone 1 x 1 1×
 -
 Plate 1 x 1 Round 2×
 -
 Brick 2 x 2 1×
 -
 Slope Brick 45 2 x 2 1×
 -
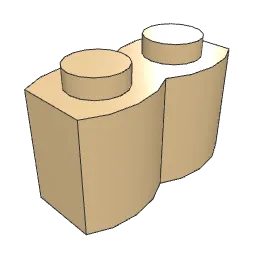 Brick 1 x 2 Log 1×
 -
 Slope Brick 45 2 x 4 Double 2×
 - Brick 1 x 1 Round with Hollow Stud 1×
-
-
Step 6 · 10 pieces
Tip Center the 4 x 4 dark green plate on the trunk, then set one slope on each side facing outward before adding the cones.
-
 Brick 2 x 2 Round without Reinforcement 2×
 -
 Brick 2 x 2 1×
 -
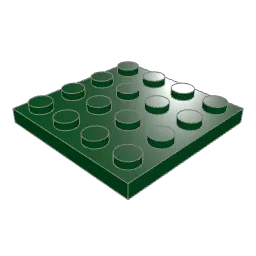 Plate 4 x 4 1×
 -
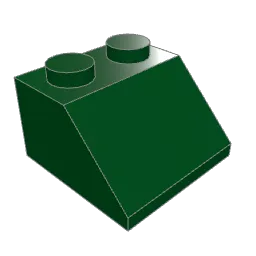 Slope Brick 45 2 x 2 4×
 -
 Cone 2 x 2 x 2 with Hollow Stud Open 1×
 -
 Cone 1 x 1 1×
-
-
Step 7 · 8 pieces
- Brick 2 x 2 Round without Reinforcement 1×
- Plate 4 x 4 1×
- Slope Brick 45 2 x 2 4×
- Cone 2 x 2 x 2 with Hollow Stud Open 1×
- Cone 1 x 1 1×
-
-
Step 8 · 11 pieces
-
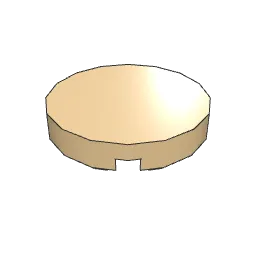 Tile 2 x 2 Round with Round Underside Stud 1×
 -
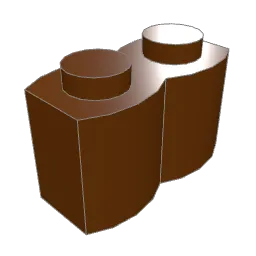 Brick 1 x 2 Log 4×
 -
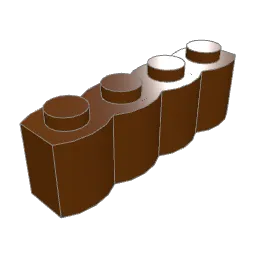 Brick 1 x 4 Log 2×
 -
 Brick 1 x 1 Round with Hollow Stud 1×
 - Brick 2 x 2 Round without Reinforcement 1×
- Cone 2 x 2 x 2 with Hollow Stud Open 1×
- Cone 1 x 1 1×
-
-
Step 9 · 9 pieces
-
 Plant Flower 2 x 2 Leaves 3×
 -
 Plate 1 x 1 1×
 - Plate 1 x 1 Round 1×
- Plate 1 x 1 Round 1×
-
 Plate 2 x 2 3×
-
-
Step 10 · 16 pieces
-
 Plate 1 x 2 2×
 -
 Plate 1 x 1 6×
 -
 Plate 1 x 1 Round 4×
 -
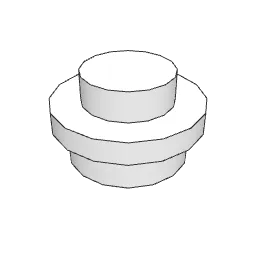 Plate 1 x 1 Round 4×
-
About this build
A tent is really a roof that reaches the ground, which is why slope bricks suit it so well. This campsite pairs an orange one with a stone fire ring and dark pines around a dirt clearing. It fills a full 16 x 16 baseplate and comes together in 10 steps from 104 parts, so set aside roughly 30–45 minutes.
Where some beginner scenes are mostly flat, this one introduces slopes early. The tent in steps 4 and 5 is built entirely from orange 45-degree slope bricks: two courses of 2 x 4 slopes on each side, the upper course stepping inward, finished with double slopes along the ridge. Because slopes only have studs on their top edge, they naturally form a roofline without any hinges. A blue tile inside is the sleeping bag; place it before the walls close over it.
The campfire is the other focal point. Step 2 rings a dirt patch with alternating light and dark gray round plates, which reads as a stone circle at a glance. Step 3 stands trans-orange and trans-yellow cones on top of two brown log plates. The see-through parts are what sell the flames.
Pine trees follow a repeating recipe: a round brown trunk, a 4 x 4 plate, four slopes, then a tall cone and a small cone on top. Build one in step 6 and step 7 is a repeat. Step 8 adds log bricks as seats, a stump made from a round brick capped with a tan round tile, and a third, smaller tree.
Steps 9 and 10 scatter bushes, rocks and flowers across the grass.
At a glance:
- Footprint: 16 x 16 studs
- Key lesson: slopes for a tent roof
- Trickiest moment: lining up the tent ridge in step 5
Parts list
How to read these instructions| Part | Name / ID | Color | Qty |
|---|---|---|---|
| Cone 1 x 14589 | Black | 1 |
| Plate 1 x 1 Round6141 | Black | 2 |
| Brick 2 x 23003 | Blue | 1 |
| Slope Brick 45 2 x 23039 | Blue | 1 |
| Tile 2 x 487079 | Blue | 1 |
| Baseplate 16 x 163867 | Green | 1 |
| Plate 1 x 23023b | Bright Green | 2 |
| Plate 1 x 13024 | Bright Green | 6 |
| Plant Flower 2 x 2 Leaves4727 | Bright Green | 3 |
| Plate 1 x 1 Round6141 | Yellow | 4 |
| Plate 1 x 1 Round6141 | White | 4 |
| Tile 2 x 2 Round with Round Underside Stud14769 | Tan | 1 |
| Brick 1 x 2 Log30136 | Tan | 1 |
| Slope Brick 45 2 x 43037 | Orange | 8 |
| Slope Brick 45 2 x 4 Double3041 | Orange | 2 |
| Plate 2 x 43020 | Dark Tan | 2 |
| Plate 2 x 23022 | Dark Tan | 2 |
| Plate 1 x 23023b | Dark Tan | 3 |
| Plate 1 x 13024 | Dark Tan | 3 |
| Plate 4 x 43031 | Dark Tan | 1 |
| Brick 1 x 1 Round with Hollow Stud3062b | Trans Yellow | 2 |
| Cone 1 x 14589 | Trans Yellow | 1 |
| Brick 1 x 1 Round with Hollow Stud3062b | Trans Orange | 1 |
| Cone 1 x 14589 | Trans Orange | 3 |
| Brick 1 x 2 Log30136 | Reddish Brown | 4 |
| Brick 1 x 4 Log30137 | Reddish Brown | 2 |
| Plate 1 x 23023b | Reddish Brown | 2 |
| Brick 1 x 1 Round with Hollow Stud3062b | Reddish Brown | 1 |
| Brick 2 x 2 Round without Reinforcement3941 | Reddish Brown | 4 |
| Plate 1 x 13024 | Light Bluish Grey | 1 |
| Plate 1 x 1 Round6141 | Light Bluish Grey | 7 |
| Plate 1 x 1 Round6141 | Dark Bluish Grey | 7 |
| Brick 2 x 23003 | Dark Green | 1 |
| Plate 2 x 23022 | Dark Green | 3 |
| Plate 4 x 43031 | Dark Green | 2 |
| Slope Brick 45 2 x 23039 | Dark Green | 8 |
| Cone 2 x 2 x 2 with Hollow Stud Open3942c | Dark Green | 3 |
| Cone 1 x 14589 | Dark Green | 3 |
| Total pieces | 104 | ||