Thanksgiving Turkey: Step-by-step building instructions
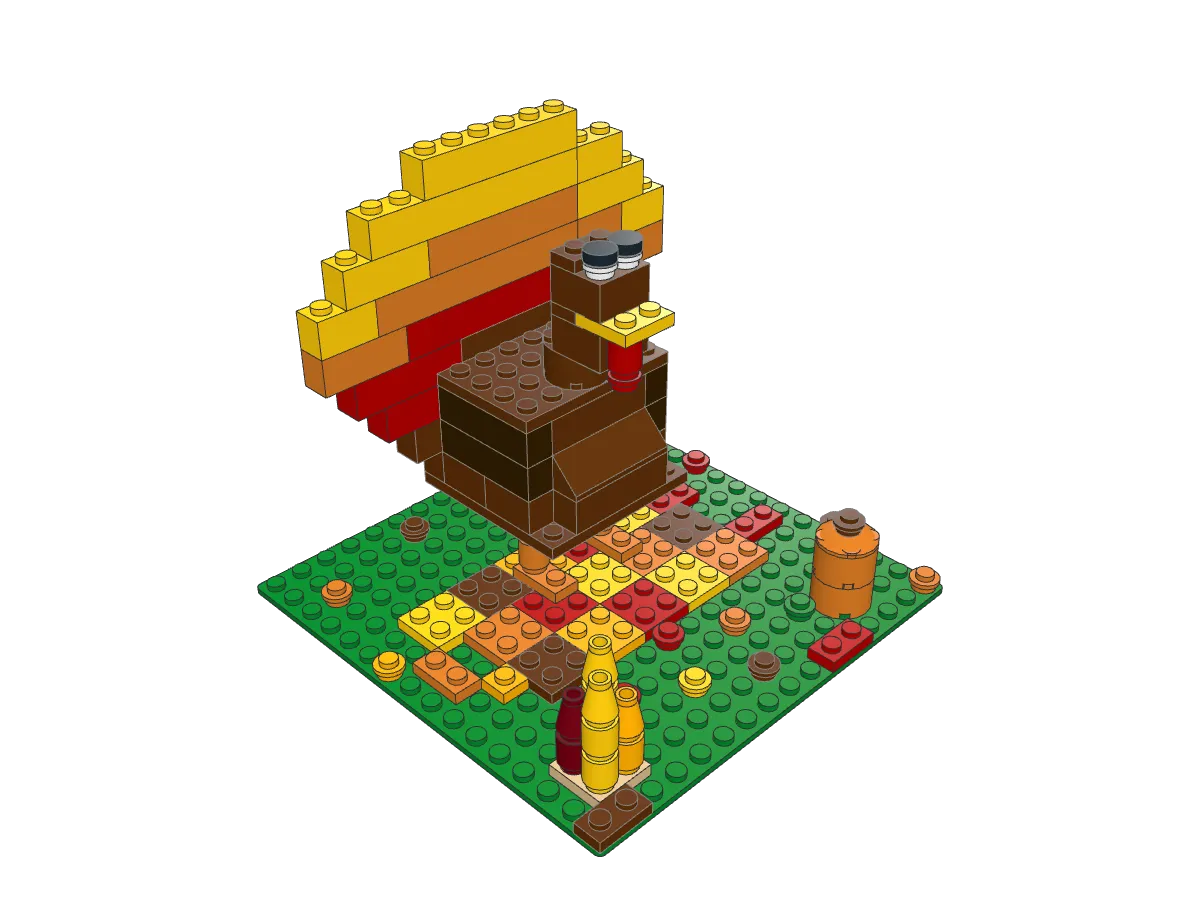
A plump, friendly Thanksgiving turkey with a fanned tail of brown, red, orange and yellow feathers, googly eyes and a red wattle, standing on autumn leaves beside a pumpkin and a bundle of corn cobs.
105 parts 15 steps Beginner
Loading 3D model Check your connection and try again.
Drag to rotate. Pinch or scroll to zoom.
Build steps
Finished model
Drag to look around, then build it in 15 steps.
Step 1 of 15
-
Step 1 · 1 piece
-
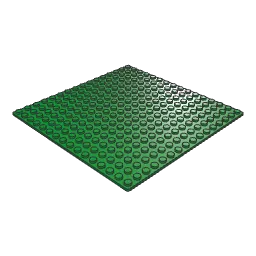 Baseplate 16 x 16 1×
-
-
Step 2 · 19 pieces
Tip Lay the leaf plates in the exact grid shown. The left foot lands on the red plate in the middle row, so a plate shifted by one stud leaves the turkey crooked.
-
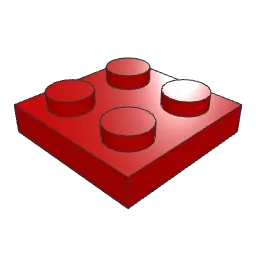 Plate 2 x 2 4×
-
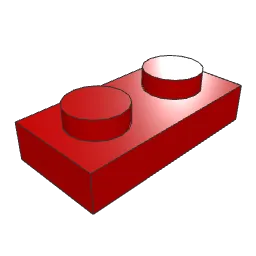 Plate 1 x 2 1×
-
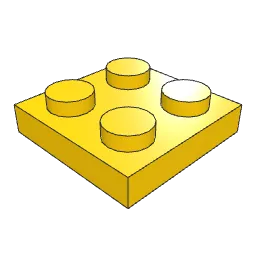 Plate 2 x 2 4×
-
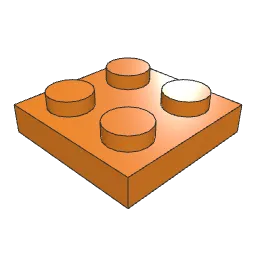 Plate 2 x 2 3×
-
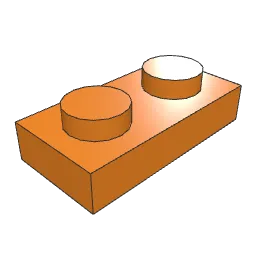 Plate 1 x 2 1×
-
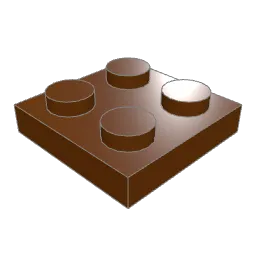 Plate 2 x 2 3×
-
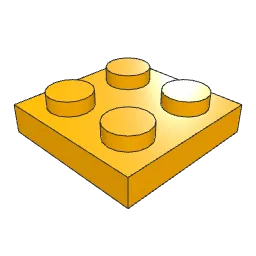 Plate 2 x 2 2×
-
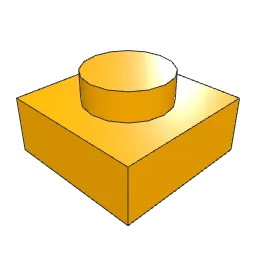 Plate 1 x 1 1×
-
-
Step 3 · 6 pieces
Tip Each foot runs front to back. Put the two round leg bricks on the rear stud of each foot, not the front one, or the belly plate will not reach them.
- Plate 1 x 2 2×
-
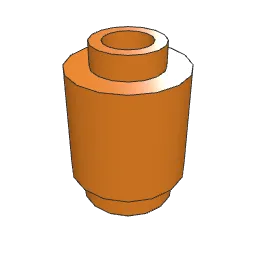 Brick 1 x 1 Round with Hollow Stud 4×
-
-
Step 4 · 4 pieces
-
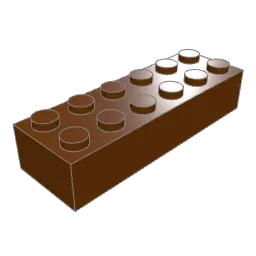 Brick 2 x 6 2×
-
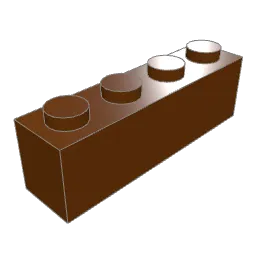 Brick 1 x 4 1×
-
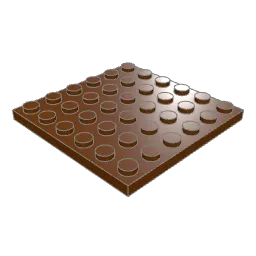 Plate 6 x 6 1×
-
-
Step 5 · 5 pieces
Tip The breast slope faces the front and sits on the 1×4 brick from step 4. Its tall back edge lines up with the first row of the 2×3 bricks behind it.
-
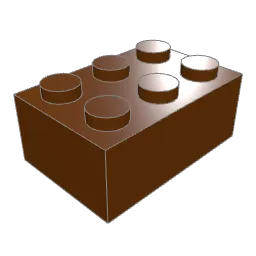 Brick 2 x 3 2×
-
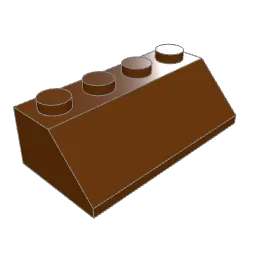 Slope Brick 45 2 x 4 1×
-
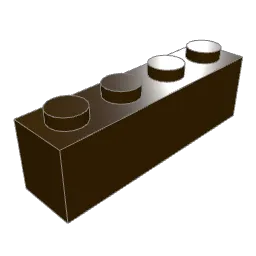 Brick 1 x 4 2×
-
-
Step 6 · 5 pieces
-
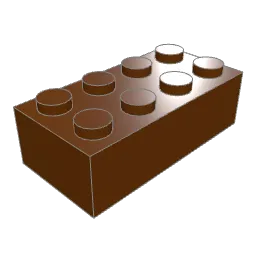 Brick 2 x 4 2×
-
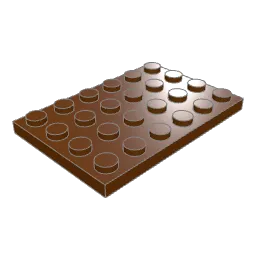 Plate 4 x 6 1×
- Brick 1 x 4 2×
-
-
Step 7 · 4 pieces
Tip Press the yellow 2×2 beak plate onto the front stud row of the head so half of it sticks out in front of the face. The brown 1×2 plate fills the gap behind it.
- Plate 2 x 2 1×
-
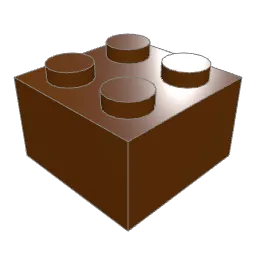 Brick 2 x 2 1×
-
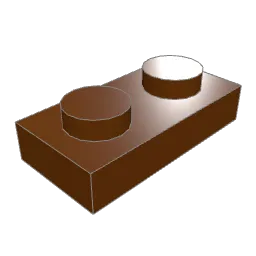 Plate 1 x 2 1×
-
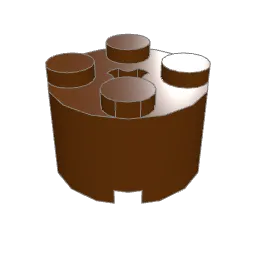 Brick 2 x 2 Round without Reinforcement 1×
-
-
Step 8 · 8 pieces
Tip The red wattle hangs from the underside of the beak, on one of its two front studs. Push the round brick up into the beak first, then add the small round plate below it.
-
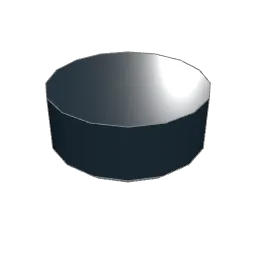 Tile 1 x 1 Round with Groove 2×
-
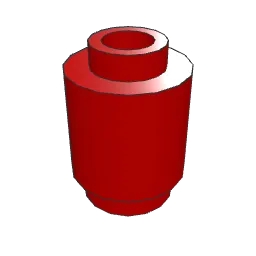 Brick 1 x 1 Round with Hollow Stud 1×
-
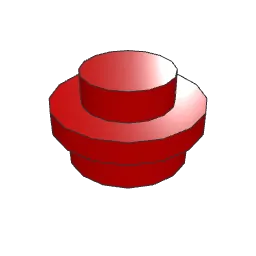 Plate 1 x 1 Round 1×
-
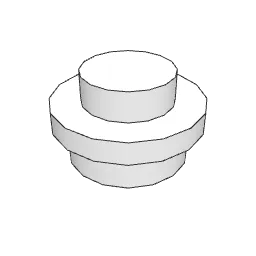 Plate 1 x 1 Round 2×
- Brick 2 x 2 1×
- Plate 1 x 2 1×
-
-
Step 9 · 5 pieces
Tip Start each fan course with its middle brick and work outward. The first course is only six studs wide and rests on the back row of the belly plate.
-
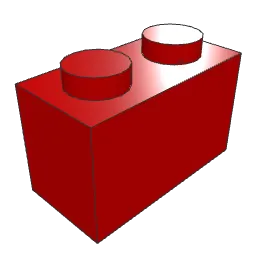 Brick 1 x 2 2×
-
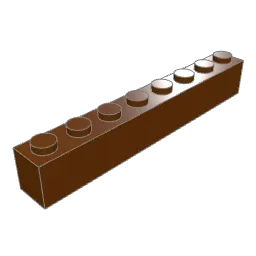 Brick 1 x 8 1×
-
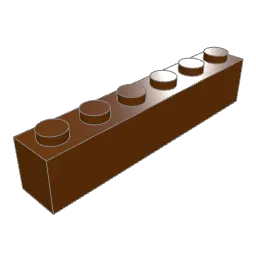 Brick 1 x 6 2×
-
-
Step 10 · 6 pieces
-
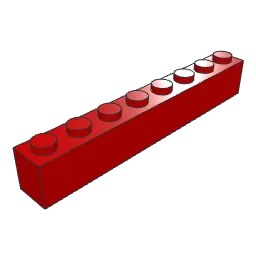 Brick 1 x 8 1×
-
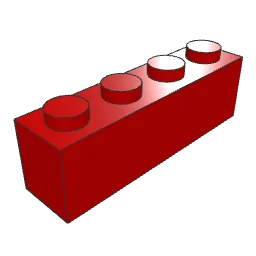 Brick 1 x 4 2×
-
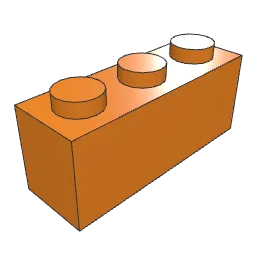 Brick 1 x 3 2×
- Brick 1 x 4 1×
-
-
Step 11 · 7 pieces
-
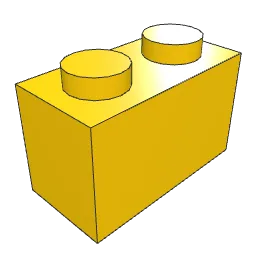 Brick 1 x 2 2×
-
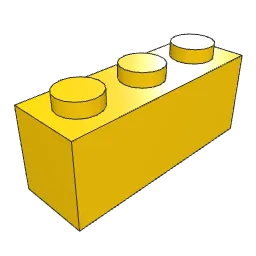 Brick 1 x 3 2×
-
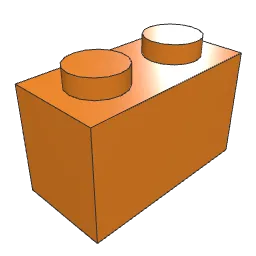 Brick 1 x 2 1×
-
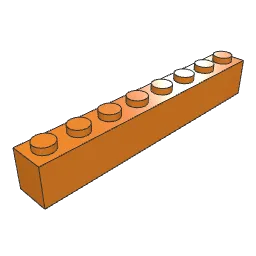 Brick 1 x 8 1×
-
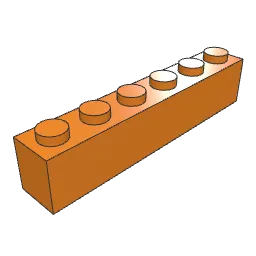 Brick 1 x 6 1×
-
-
Step 12 · 3 pieces
- Brick 1 x 2 1×
-
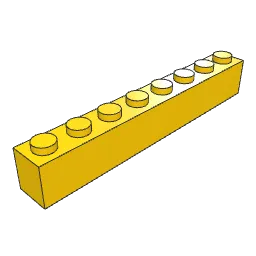 Brick 1 x 8 1×
-
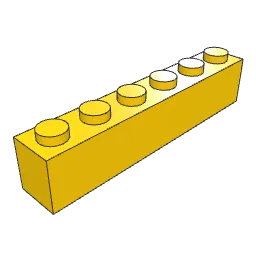 Brick 1 x 6 1×
-
-
Step 13 · 7 pieces
-
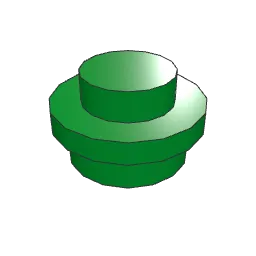 Plate 1 x 1 Round 1×
- Brick 1 x 1 Round with Hollow Stud 1×
-
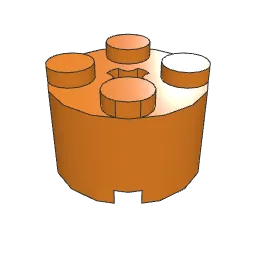 Brick 2 x 2 Round without Reinforcement 2×
-
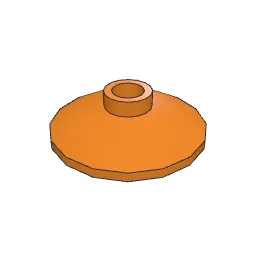 Dish 2 x 2 Inverted 1×
-
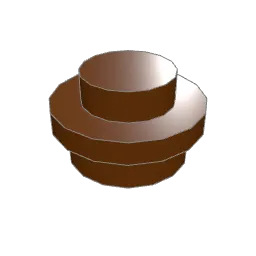 Plate 1 x 1 Round 2×
-
-
Step 14 · 11 pieces
-
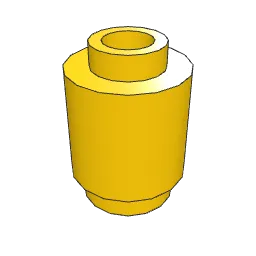 Brick 1 x 1 Round with Hollow Stud 4×
-
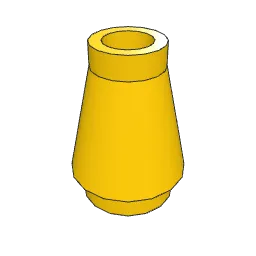 Cone 1 x 1 2×
-
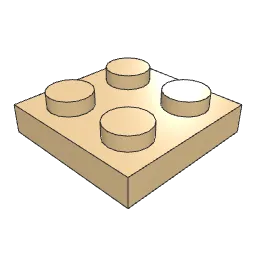 Plate 2 x 2 1×
-
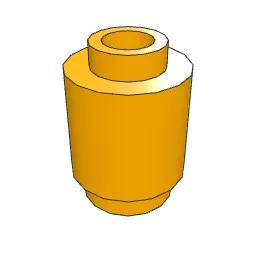 Brick 1 x 1 Round with Hollow Stud 1×
-
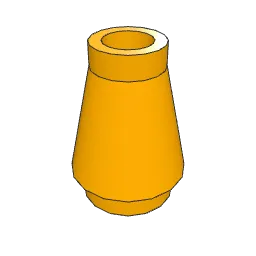 Cone 1 x 1 1×
-
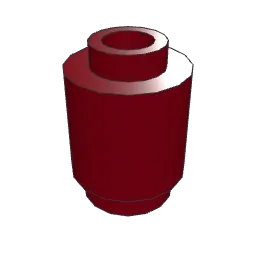 Brick 1 x 1 Round with Hollow Stud 1×
-
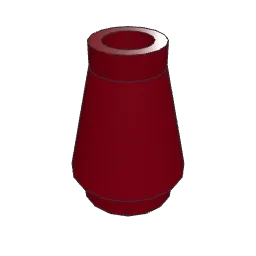 Cone 1 x 1 1×
-
-
Step 15 · 14 pieces
- Plate 1 x 2 1×
- Plate 1 x 1 Round 3×
-
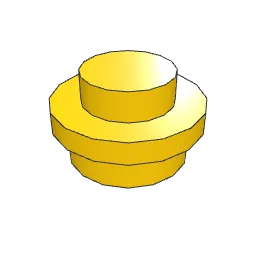 Plate 1 x 1 Round 2×
-
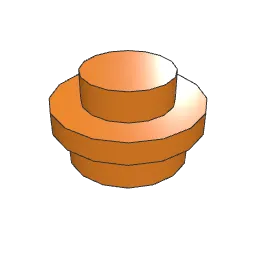 Plate 1 x 1 Round 3×
- Plate 1 x 2 1×
- Plate 1 x 1 Round 2×
-
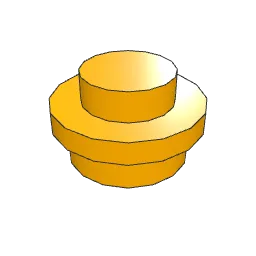 Plate 1 x 1 Round 2×
-
About this build
A turkey with its tail fanned out is the classic image of an American Thanksgiving table, and this build leans into the cartoon version: a round brown body, a tiny head and a huge feathered fan that stands taller than everything else on the plate.
The fan is a single wall of 1×2 to 1×8 bricks set just behind the body. Its colors follow rings around the base of the tail, so reddish brown sits in the middle, then red, orange and finally yellow at the tips. Each course grows by one stud on both sides until the fan reaches fourteen studs, then it narrows again for a rounded top.
The body is a short stack of reddish brown bricks with a sloped breast, and two dark brown 1×4 bricks on each side form the folded wings. A 2×2 round brick works as the neck. The yellow beak is a 2×2 plate that sticks out one stud from the face, and the red wattle hangs underneath it: a round brick and a round plate pressed onto the beak from below. White and black round pieces on top of the head make the wide-eyed look.
At a glance
- 105 parts in 15 steps on a 16×16 green baseplate
- About 30–45 minutes for most builders (an estimate)
- Harvest props: a stacked pumpkin and four corn cobs in yellow, orange and dark red
Step 2 matters more than it looks: the turkey's feet press into the leaf plates, so lay them exactly as shown. The fan steps (9 to 12) are easiest if you build from the centre outward in every course. For a variation, swap the yellow tips for more orange and move a corn cob next to the pumpkin.
Parts list
How to read these instructionsEvery piece is a standard LEGO® element, listed with its LDraw part number and color.
| Part | Name / ID | Color | Qty |
|---|---|---|---|
| Tile 1 x 1 Round with Groove98138 | Black | 2 |
| Baseplate 16 x 163867 | Green | 1 |
| Plate 1 x 1 Round6141 | Green | 1 |
| Brick 1 x 23004 | Red | 2 |
| Brick 1 x 83008 | Red | 1 |
| Brick 1 x 43010 | Red | 2 |
| Plate 2 x 23022 | Red | 4 |
| Plate 1 x 23023b | Red | 2 |
| Brick 1 x 1 Round with Hollow Stud3062b | Red | 1 |
| Plate 1 x 1 Round6141 | Red | 4 |
| Brick 1 x 23004 | Yellow | 3 |
| Brick 1 x 83008 | Yellow | 1 |
| Brick 1 x 63009 | Yellow | 1 |
| Plate 2 x 23022 | Yellow | 5 |
| Brick 1 x 1 Round with Hollow Stud3062b | Yellow | 4 |
| Brick 1 x 33622 | Yellow | 2 |
| Cone 1 x 14589 | Yellow | 2 |
| Plate 1 x 1 Round6141 | Yellow | 2 |
| Plate 1 x 1 Round6141 | White | 2 |
| Plate 2 x 23022 | Tan | 1 |
| Brick 1 x 23004 | Orange | 1 |
| Brick 1 x 83008 | Orange | 1 |
| Brick 1 x 63009 | Orange | 1 |
| Plate 2 x 23022 | Orange | 3 |
| Plate 1 x 23023b | Orange | 3 |
| Brick 1 x 1 Round with Hollow Stud3062b | Orange | 5 |
| Brick 1 x 33622 | Orange | 2 |
| Brick 2 x 2 Round without Reinforcement3941 | Orange | 2 |
| Dish 2 x 2 Inverted4740 | Orange | 1 |
| Plate 1 x 1 Round6141 | Orange | 3 |
| Brick 2 x 62456 | Reddish Brown | 2 |
| Brick 2 x 43001 | Reddish Brown | 2 |
| Brick 2 x 33002 | Reddish Brown | 2 |
| Brick 2 x 23003 | Reddish Brown | 2 |
| Brick 1 x 83008 | Reddish Brown | 1 |
| Brick 1 x 63009 | Reddish Brown | 2 |
| Brick 1 x 43010 | Reddish Brown | 2 |
| Plate 2 x 23022 | Reddish Brown | 3 |
| Plate 1 x 23023b | Reddish Brown | 3 |
| Plate 4 x 63032 | Reddish Brown | 1 |
| Slope Brick 45 2 x 43037 | Reddish Brown | 1 |
| Brick 2 x 2 Round without Reinforcement3941 | Reddish Brown | 1 |
| Plate 6 x 63958 | Reddish Brown | 1 |
| Plate 1 x 1 Round6141 | Reddish Brown | 4 |
| Plate 2 x 23022 | Bright Light Orange | 2 |
| Plate 1 x 13024 | Bright Light Orange | 1 |
| Brick 1 x 1 Round with Hollow Stud3062b | Bright Light Orange | 1 |
| Cone 1 x 14589 | Bright Light Orange | 1 |
| Plate 1 x 1 Round6141 | Bright Light Orange | 2 |
| Brick 1 x 43010 | Dark Brown | 4 |
| Brick 1 x 1 Round with Hollow Stud3062b | Dark Red | 1 |
| Cone 1 x 14589 | Dark Red | 1 |
| Total pieces | 105 | ||
More builds like this
-
 Nature & Outdoor
Scarecrow
-
 Nature & Outdoor
Pumpkin Patch
-
 Nature & Outdoor
Red Fox
-
 Nature & Outdoor
Owl
Find more in Halloween & autumnEasy for beginners