Jack-o'-Lantern: Step-by-step building instructions
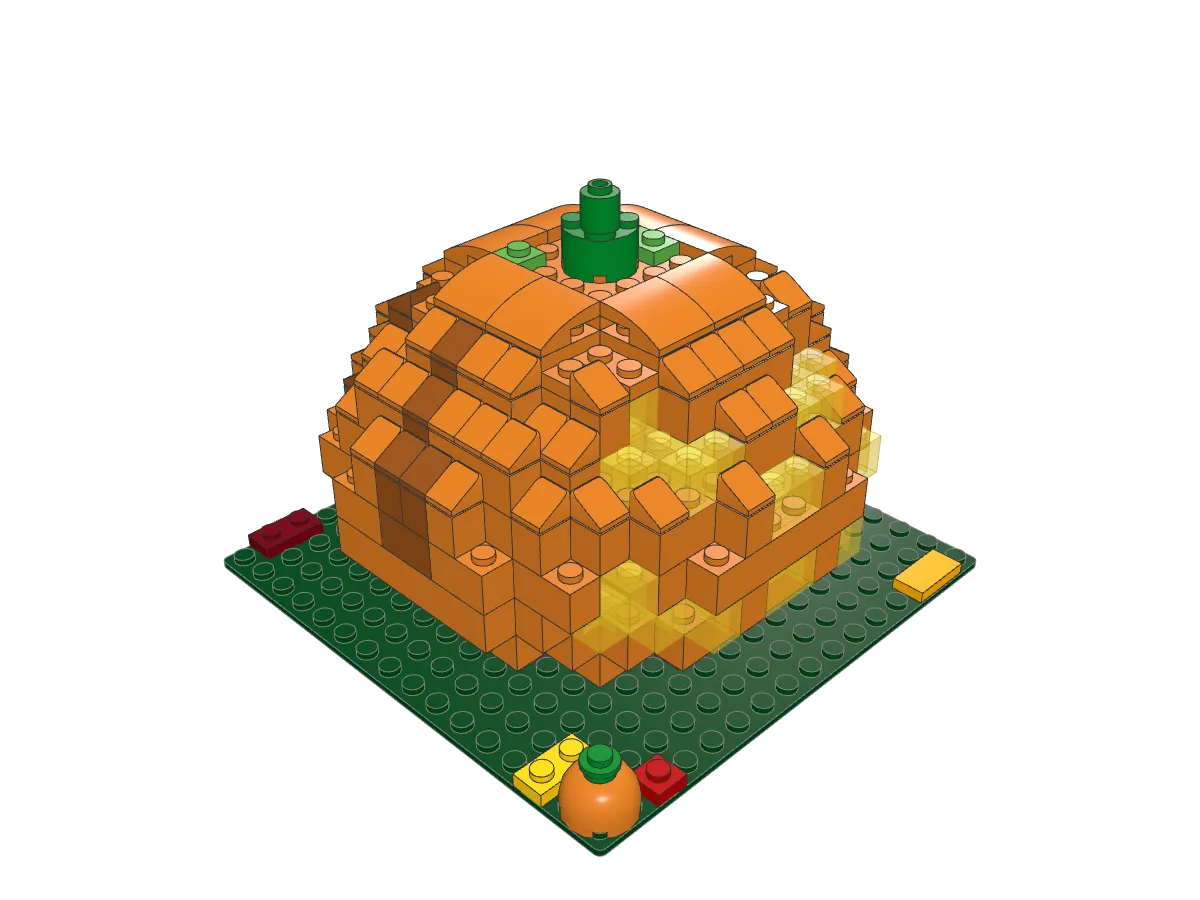
A wide, round, hollow Halloween pumpkin with a trans-yellow carved face, dark orange ribs, a lift-off lid with a green stem, and room inside for a tea light, on a ground of fallen leaves.
294 parts 12 steps Advanced
Loading 3D model Check your connection and try again.
Drag to rotate. Pinch or scroll to zoom.
Build steps
Finished model
Drag to look around, then build it in 12 steps.
Step 1 of 12
-
Step 1 · 11 pieces
-
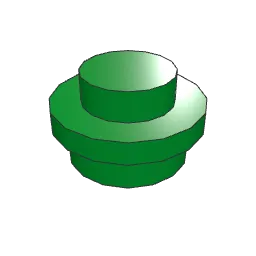 Plate 1 x 1 Round 1×
-
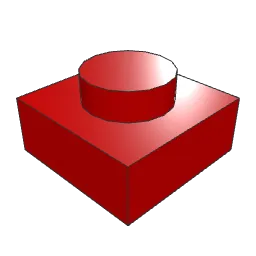 Plate 1 x 1 1×
-
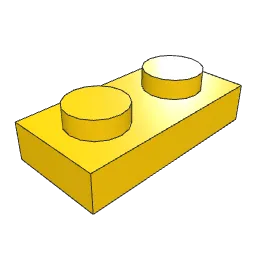 Plate 1 x 2 1×
-
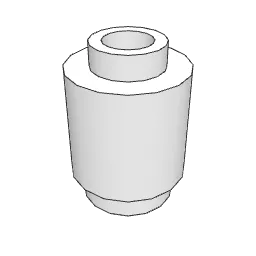 Brick 1 x 1 Round with Hollow Stud 2×
-
 Cylinder 2 x 2 with Dome Top with Axle Hole and Hollow Stud 1×
-
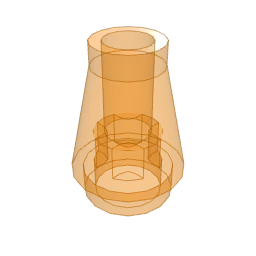 Cone 1 x 1 1×
-
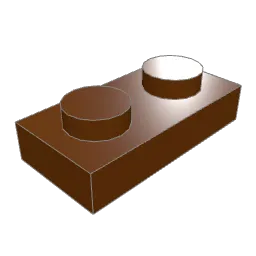 Plate 1 x 2 1×
-
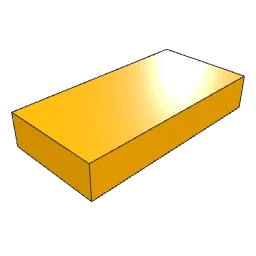 Tile 1 x 2 with Groove 1×
-
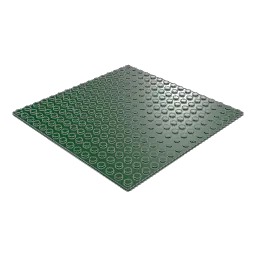 Baseplate 16 x 16 1×
-
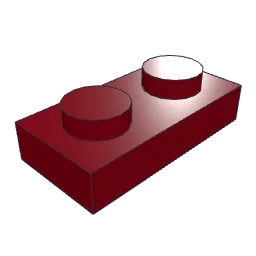 Plate 1 x 2 1×
-
-
Step 2 · 9 pieces
Tip The ring is centred on the base, so the white candle from step 1 ends up in the middle of the hollow inside it.
-
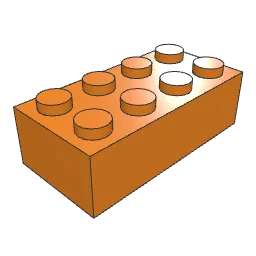 Brick 2 x 4 3×
-
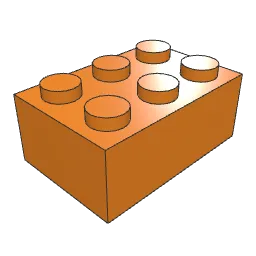 Brick 2 x 3 1×
-
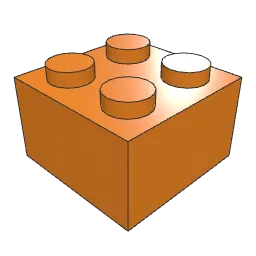 Brick 2 x 2 4×
-
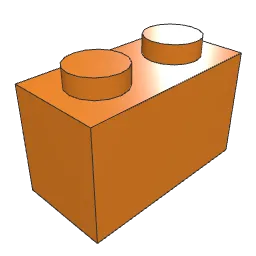 Brick 1 x 2 1×
-
-
Step 3 · 14 pieces
- Brick 2 x 4 1×
- Brick 2 x 2 3×
- Brick 1 x 2 2×
-
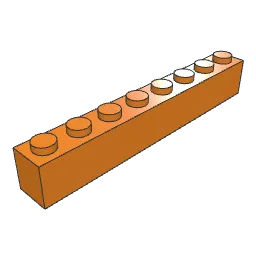 Brick 1 x 8 1×
-
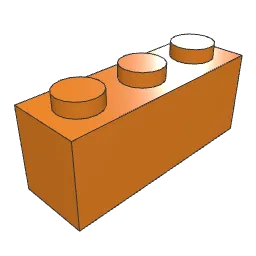 Brick 1 x 3 7×
-
-
Step 4 · 24 pieces
Tip Each trans-yellow column runs from the outside of the wall to the hollow inside. Leave no orange brick behind it, or the light will not get through.
- Brick 1 x 2 2×
-
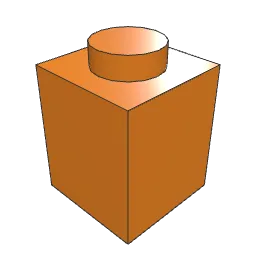 Brick 1 x 1 5×
- Brick 1 x 8 1×
-
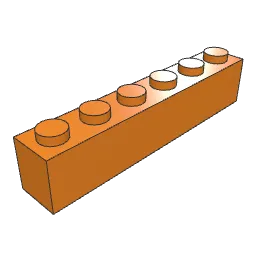 Brick 1 x 6 2×
-
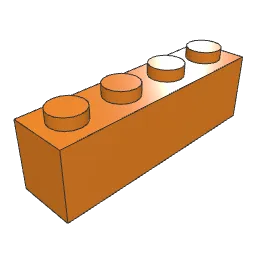 Brick 1 x 4 3×
- Brick 1 x 3 3×
-
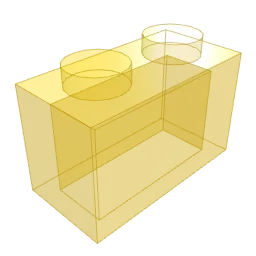 Brick 1 x 2 without Centre Stud 8×
-
-
Step 5 · 40 pieces
Tip The front of the grin sticks out past the ring below, so its two orange 1 x 1 teeth and the bricks beside them hang from this ring. Hold them up while you press it on.
- Brick 2 x 2 6×
- Brick 1 x 2 5×
- Brick 1 x 1 8×
- Brick 1 x 6 4×
- Brick 1 x 4 5×
- Brick 1 x 3 1×
-
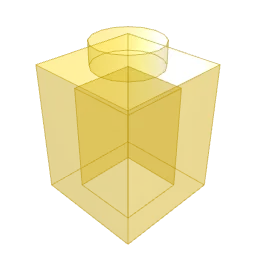 Brick 1 x 1 2×
- Brick 1 x 2 without Centre Stud 3×
-
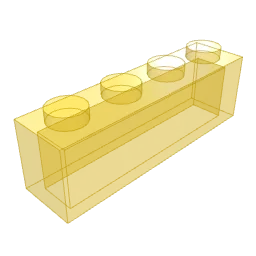 Brick 1 x 4 without Centre Studs 3×
-
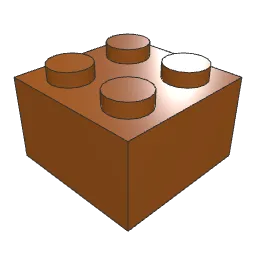 Brick 2 x 2 3×
-
-
Step 6 · 40 pieces
Tip The nose is two studs wide and sits right above the middle of the grin, with one orange ring between them.
- Brick 2 x 2 3×
- Brick 1 x 2 14×
- Brick 1 x 1 7×
- Brick 1 x 3 7×
- Brick 1 x 2 without Centre Stud 2×
-
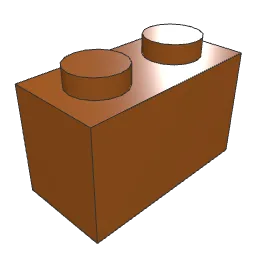 Brick 1 x 2 1×
-
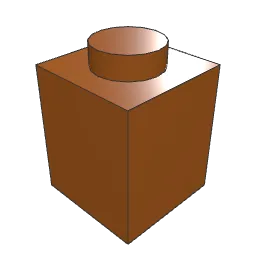 Brick 1 x 1 6×
-
-
Step 7 · 59 pieces
Tip Every 1 x 1 slope in this step points down and away from the middle, onto the ledge that the narrower ring leaves uncovered.
- Brick 2 x 2 3×
- Brick 1 x 2 3×
- Brick 1 x 1 5×
- Brick 1 x 4 1×
- Brick 1 x 3 6×
-
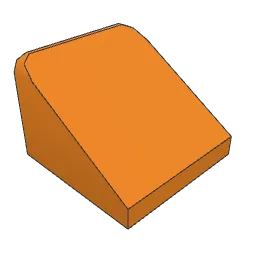 Slope Brick 31 1 x 1 x 0.667 18×
- Brick 1 x 1 8×
- Brick 1 x 2 without Centre Stud 4×
- Brick 1 x 2 1×
- Brick 1 x 1 2×
-
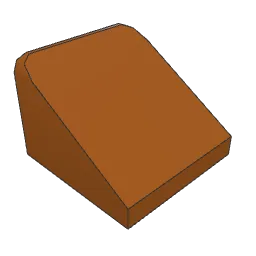 Slope Brick 31 1 x 1 x 0.667 8×
-
-
Step 8 · 55 pieces
- Brick 2 x 4 1×
- Brick 2 x 2 1×
- Brick 1 x 2 5×
- Brick 1 x 1 6×
- Brick 1 x 6 1×
- Brick 1 x 4 1×
- Brick 1 x 3 1×
- Slope Brick 31 1 x 1 x 0.667 28×
- Brick 1 x 2 without Centre Stud 2×
- Brick 1 x 2 1×
- Brick 1 x 1 4×
- Slope Brick 31 1 x 1 x 0.667 4×
-
-
Step 9 · 20 pieces
- Slope Brick 31 1 x 1 x 0.667 14×
- Slope Brick 31 1 x 1 x 0.667 6×
-
-
Step 10 · 9 pieces
Tip Build both plate layers right on the rim, then lift the lid once: it should come away in one piece and press back on.
-
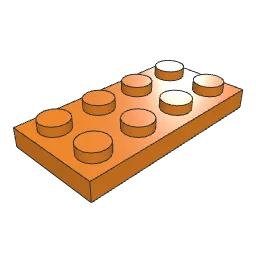 Plate 2 x 4 2×
-
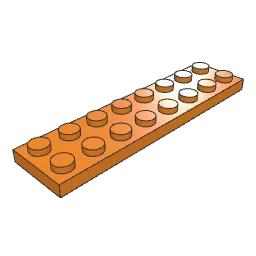 Plate 2 x 8 5×
-
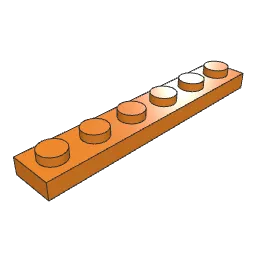 Plate 1 x 6 2×
-
-
Step 11 · 9 pieces
-
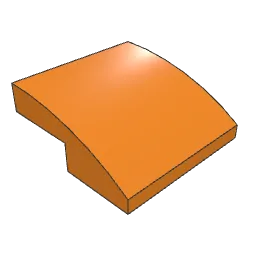 Slope Brick Curved 2 x 2 x 0.667 8×
-
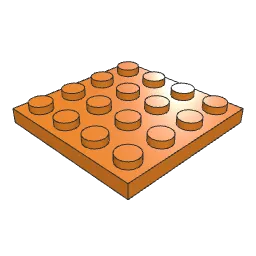 Plate 4 x 4 1×
-
-
Step 12 · 4 pieces
-
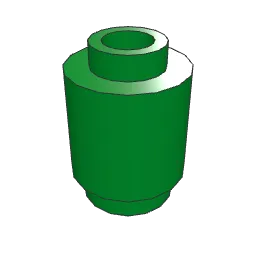 Brick 1 x 1 Round with Hollow Stud 1×
-
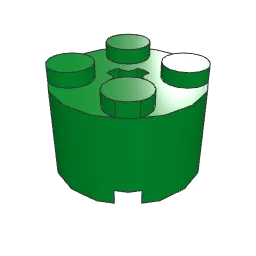 Brick 2 x 2 Round without Reinforcement 1×
-
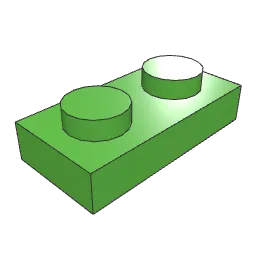 Plate 1 x 2 1×
-
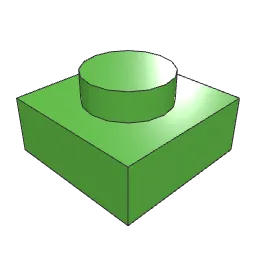 Plate 1 x 1 1×
-
About this build
A carved pumpkin with a candle inside is the lantern of Halloween night: the light comes through the cuts, so the face glows.
This one works the same way. The shell is hollow, and the eyes, nose and grin are trans-yellow bricks that run from the outside of the shell to the hollow inside. Lift off the lid and stand a battery tea light on the floor (the opening and the floor are both six studs across, enough for a standard tea light about 38 mm wide), and the face lights up. The small white candle with a trans-orange flame stands in the same spot for display.
Like a real pumpkin, it is much wider than it is tall. Seven rings swell out to 14 studs across at the middle and curve back in toward the base and the lid, and small 1 x 1 slopes round off the shoulders. Dark orange stripes running up the sides and back mark the ribs, and curved slopes dome the lid around a green stem.
At a glance
- 294 parts in 12 steps
- 16 × 16 stud dark green base, pumpkin 14 studs wide
- About 1.5–2 hours for most builders
The walls are about two studs thick, and many bricks reach out past the ring below. Build every ring in the order the steps show and press each one down firmly before starting the next. Steps 4 to 8 add the face: check the trans-yellow bricks against the picture at every ring, because a misplaced one is hard to reach once the next ring is on. The lid from steps 10 to 12 is one piece pressed onto the rim, not built into it, so it lifts off whenever you change the light.
Parts list
How to read these instructionsEvery piece is a standard LEGO® element, listed with its LDraw part number and color.
| Part | Name / ID | Color | Qty |
|---|---|---|---|
| Brick 1 x 1 Round with Hollow Stud3062b | Green | 1 |
| Brick 2 x 2 Round without Reinforcement3941 | Green | 1 |
| Plate 1 x 1 Round6141 | Green | 1 |
| Plate 1 x 13024 | Red | 1 |
| Plate 1 x 23023b | Bright Green | 1 |
| Plate 1 x 13024 | Bright Green | 1 |
| Plate 1 x 23023b | Yellow | 1 |
| Brick 1 x 1 Round with Hollow Stud3062b | White | 2 |
| Slope Brick Curved 2 x 2 x 0.66715068 | Orange | 8 |
| Brick 2 x 43001 | Orange | 5 |
| Brick 2 x 33002 | Orange | 1 |
| Brick 2 x 23003 | Orange | 20 |
| Brick 1 x 23004 | Orange | 32 |
| Brick 1 x 13005 | Orange | 31 |
| Brick 1 x 83008 | Orange | 2 |
| Brick 1 x 63009 | Orange | 7 |
| Brick 1 x 43010 | Orange | 10 |
| Plate 2 x 43020 | Orange | 2 |
| Plate 4 x 43031 | Orange | 1 |
| Plate 2 x 83034 | Orange | 5 |
| Cylinder 2 x 2 with Dome Top with Axle Hole and Hollow Stud30367c | Orange | 1 |
| Brick 1 x 33622 | Orange | 25 |
| Plate 1 x 63666 | Orange | 2 |
| Slope Brick 31 1 x 1 x 0.66754200 | Orange | 60 |
| Brick 1 x 13005 | Trans Yellow | 10 |
| Brick 1 x 2 without Centre Stud3065 | Trans Yellow | 19 |
| Brick 1 x 4 without Centre Studs3066 | Trans Yellow | 3 |
| Cone 1 x 14589 | Trans Orange | 1 |
| Plate 1 x 23023b | Reddish Brown | 1 |
| Tile 1 x 2 with Groove3069b | Bright Light Orange | 1 |
| Baseplate 16 x 163867 | Dark Green | 1 |
| Plate 1 x 23023b | Dark Red | 1 |
| Brick 2 x 23003 | Dark Orange | 3 |
| Brick 1 x 23004 | Dark Orange | 3 |
| Brick 1 x 13005 | Dark Orange | 12 |
| Slope Brick 31 1 x 1 x 0.66754200 | Dark Orange | 18 |
| Total pieces | 294 | ||
More builds like this
-
 Nature & Outdoor
Thanksgiving Turkey
-
 Nature & Outdoor
Pumpkin Patch
-
 Nature & Outdoor
Scarecrow
-
 Buildings
Haunted House
Find more in Halloween & autumn